You can use Next Matter as a Zendesk sidebar widget\\\! That’s a quick way to start workflows, link chats and tickets, and get your tasks done.
Before you begin
- In your Next Matter portal, go to Automations library, and click Connect in the Zendesk app tile.
https://d3v-nextmatter.zendesk.com/agent/dashboard, then d3v-nextmatter is the subdomain to enter.
- Check the required scopes to learn more about which data is shared between the apps.
Create or update Zendesk ticket
- Click Workflows > + Create new… > Create a new workflow and give your workflow a name. If you have a workflow ready, click … > Edit workflow.
- Click + Add step and select Integrations > Zendesk.
- Click the step and click Configure integration.
- Select Create ticket or Update ticket in the Zendesk operation.
- Fill in all the required fields marked with an asterisk.
- (Optional) Enter the requester name and email (that would normally be your client name and email address). These two fields are co-dependant so you can either leave both empty or fill in them both. If the requester name and email are not provided, we will use the details of the user who connected Zendesk to Next Matter.
-
(Optional) In the Custom fields field, enter the Zendesk custom field ID and its value. For example:
You can enter several fields, separated by a comma.If you are updating the ticket to give it the Solved (or Completed) status, make sure you provide a value to ALL the required custom fields. If any of the required fields is not filled in, the step will show an error.
-
(Optional) Click + Add a variable and add any variables you need to use in the next steps.
For example, enter this value:$.'Ticket ID'to get the Zendesk ticket ID of the newly created ticket.
Use$.ticket.via.source.from.addressto extract the customer email. - When everything is correct, click Save changes.
Custom fields
To get the ID of the custom fields in Zendesk, you need to be a Zendesk admin. To get the ID:- In Zendesk, open Admin Center.
- Click Objects and Rules > Fields.
-
Copy the Field ID of the custom field you want to appear in the ticket created from Next Matter.
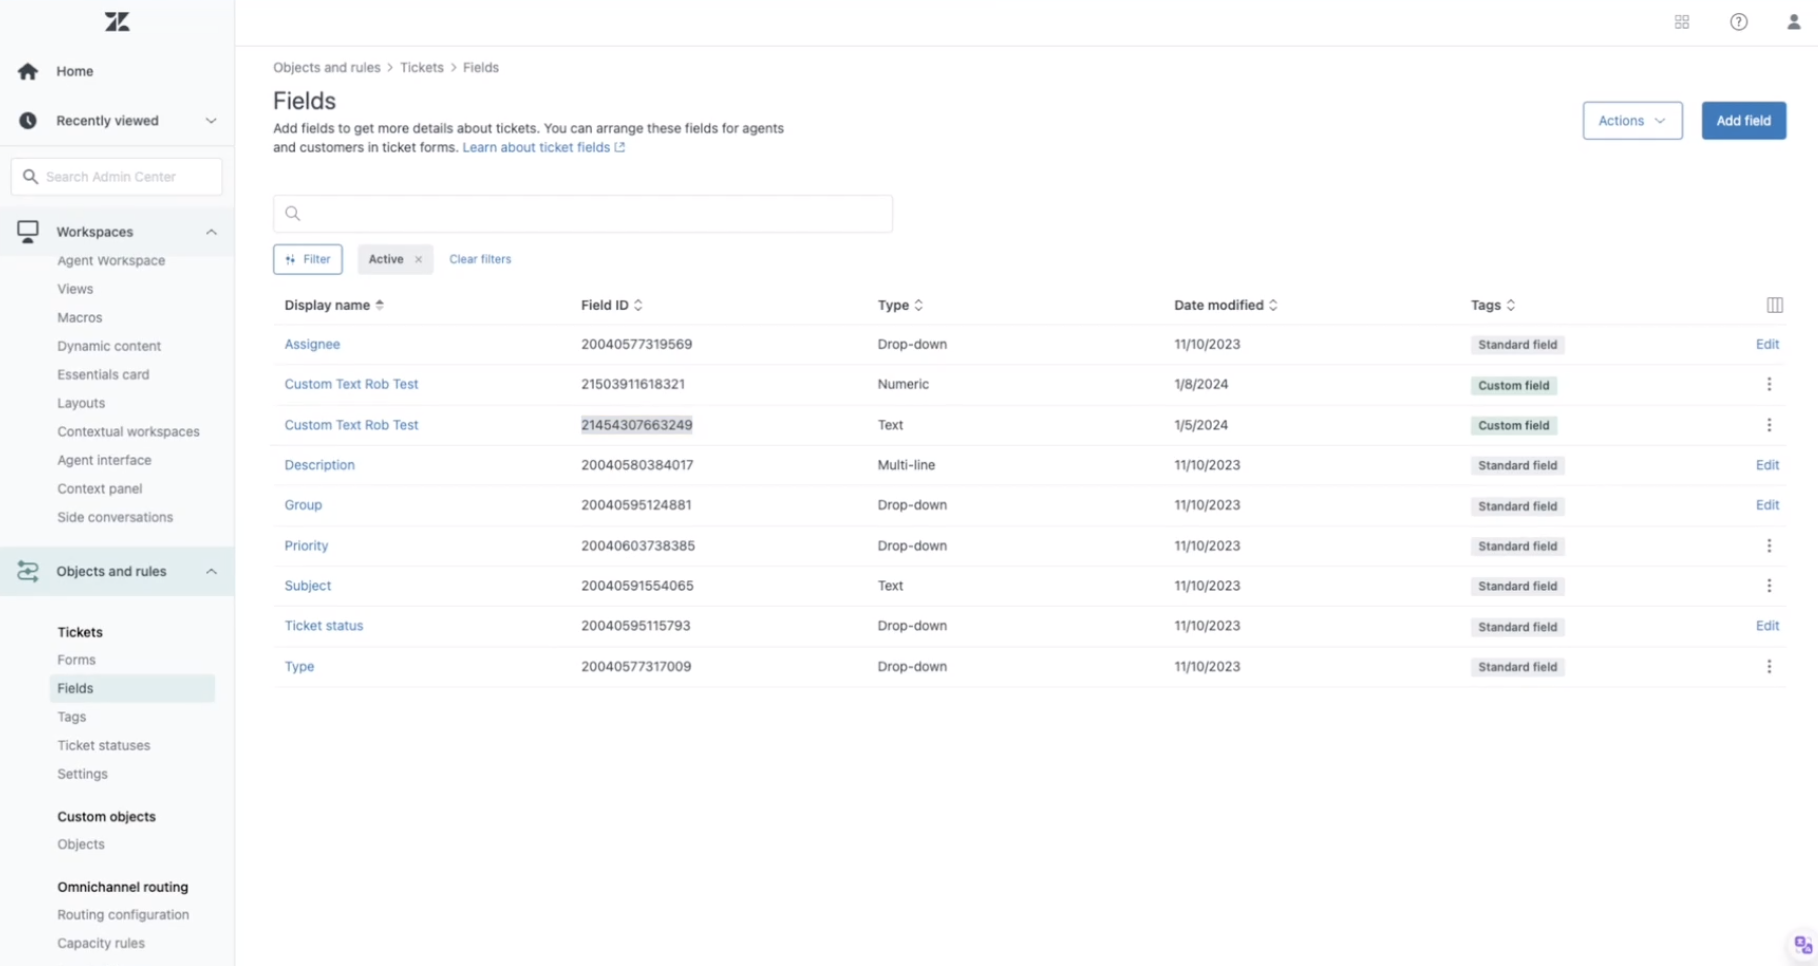
- Add the ID in the Next Matter Custom fields field and provide a value for this field.
Author ID
If you create or update tickets with the no-code step, you need to provide the Zendesk Author ID. This user will be shown as the author of the comment in Zendesk. The author can be a member of the support team (an agent) or even a customer.You need to be a Zendesk admin to see user IDs in Zendesk.
Requester email
The requester name and email are optional fields, however, if you add the requester name, you’ll have to provide the email as well. Note that the requester name only works if the requester email was not used before. If the user is already registered with a specific name in Zendesk, this name will be kept, and if you introduce a different name in the no-code step, the original name will not be updated.Get ticket details
- Click Workflows > + Create new… > Create a new workflow and give your workflow a name. If you have a workflow ready, click … > Edit workflow.
- Click + Add step and select Integrations > Zendesk.
- Click the step and click Configure integration.
- Select Get ticket in the Zendesk operation.
-
Enter or reference the ticket ID. It’s the ticket number (without #)

- Save your changes.