As an admin, you can create customized areas (portals) for users to start workflows and share the portals with whoever needs to have access.
Create portals
- Add users. You can do it in Company > Colleagues.
When added, all portal users can do the following:
- complete tasks assigned to them or their team in the Next Matter inbox
- start workflows they’ve been given access to in portals
The Onboard a list of light users Next Matter template will help you quickly add a list of light users and share a portal with them. You can find the template when you add a step and select Templates > Next Matter templates.
-
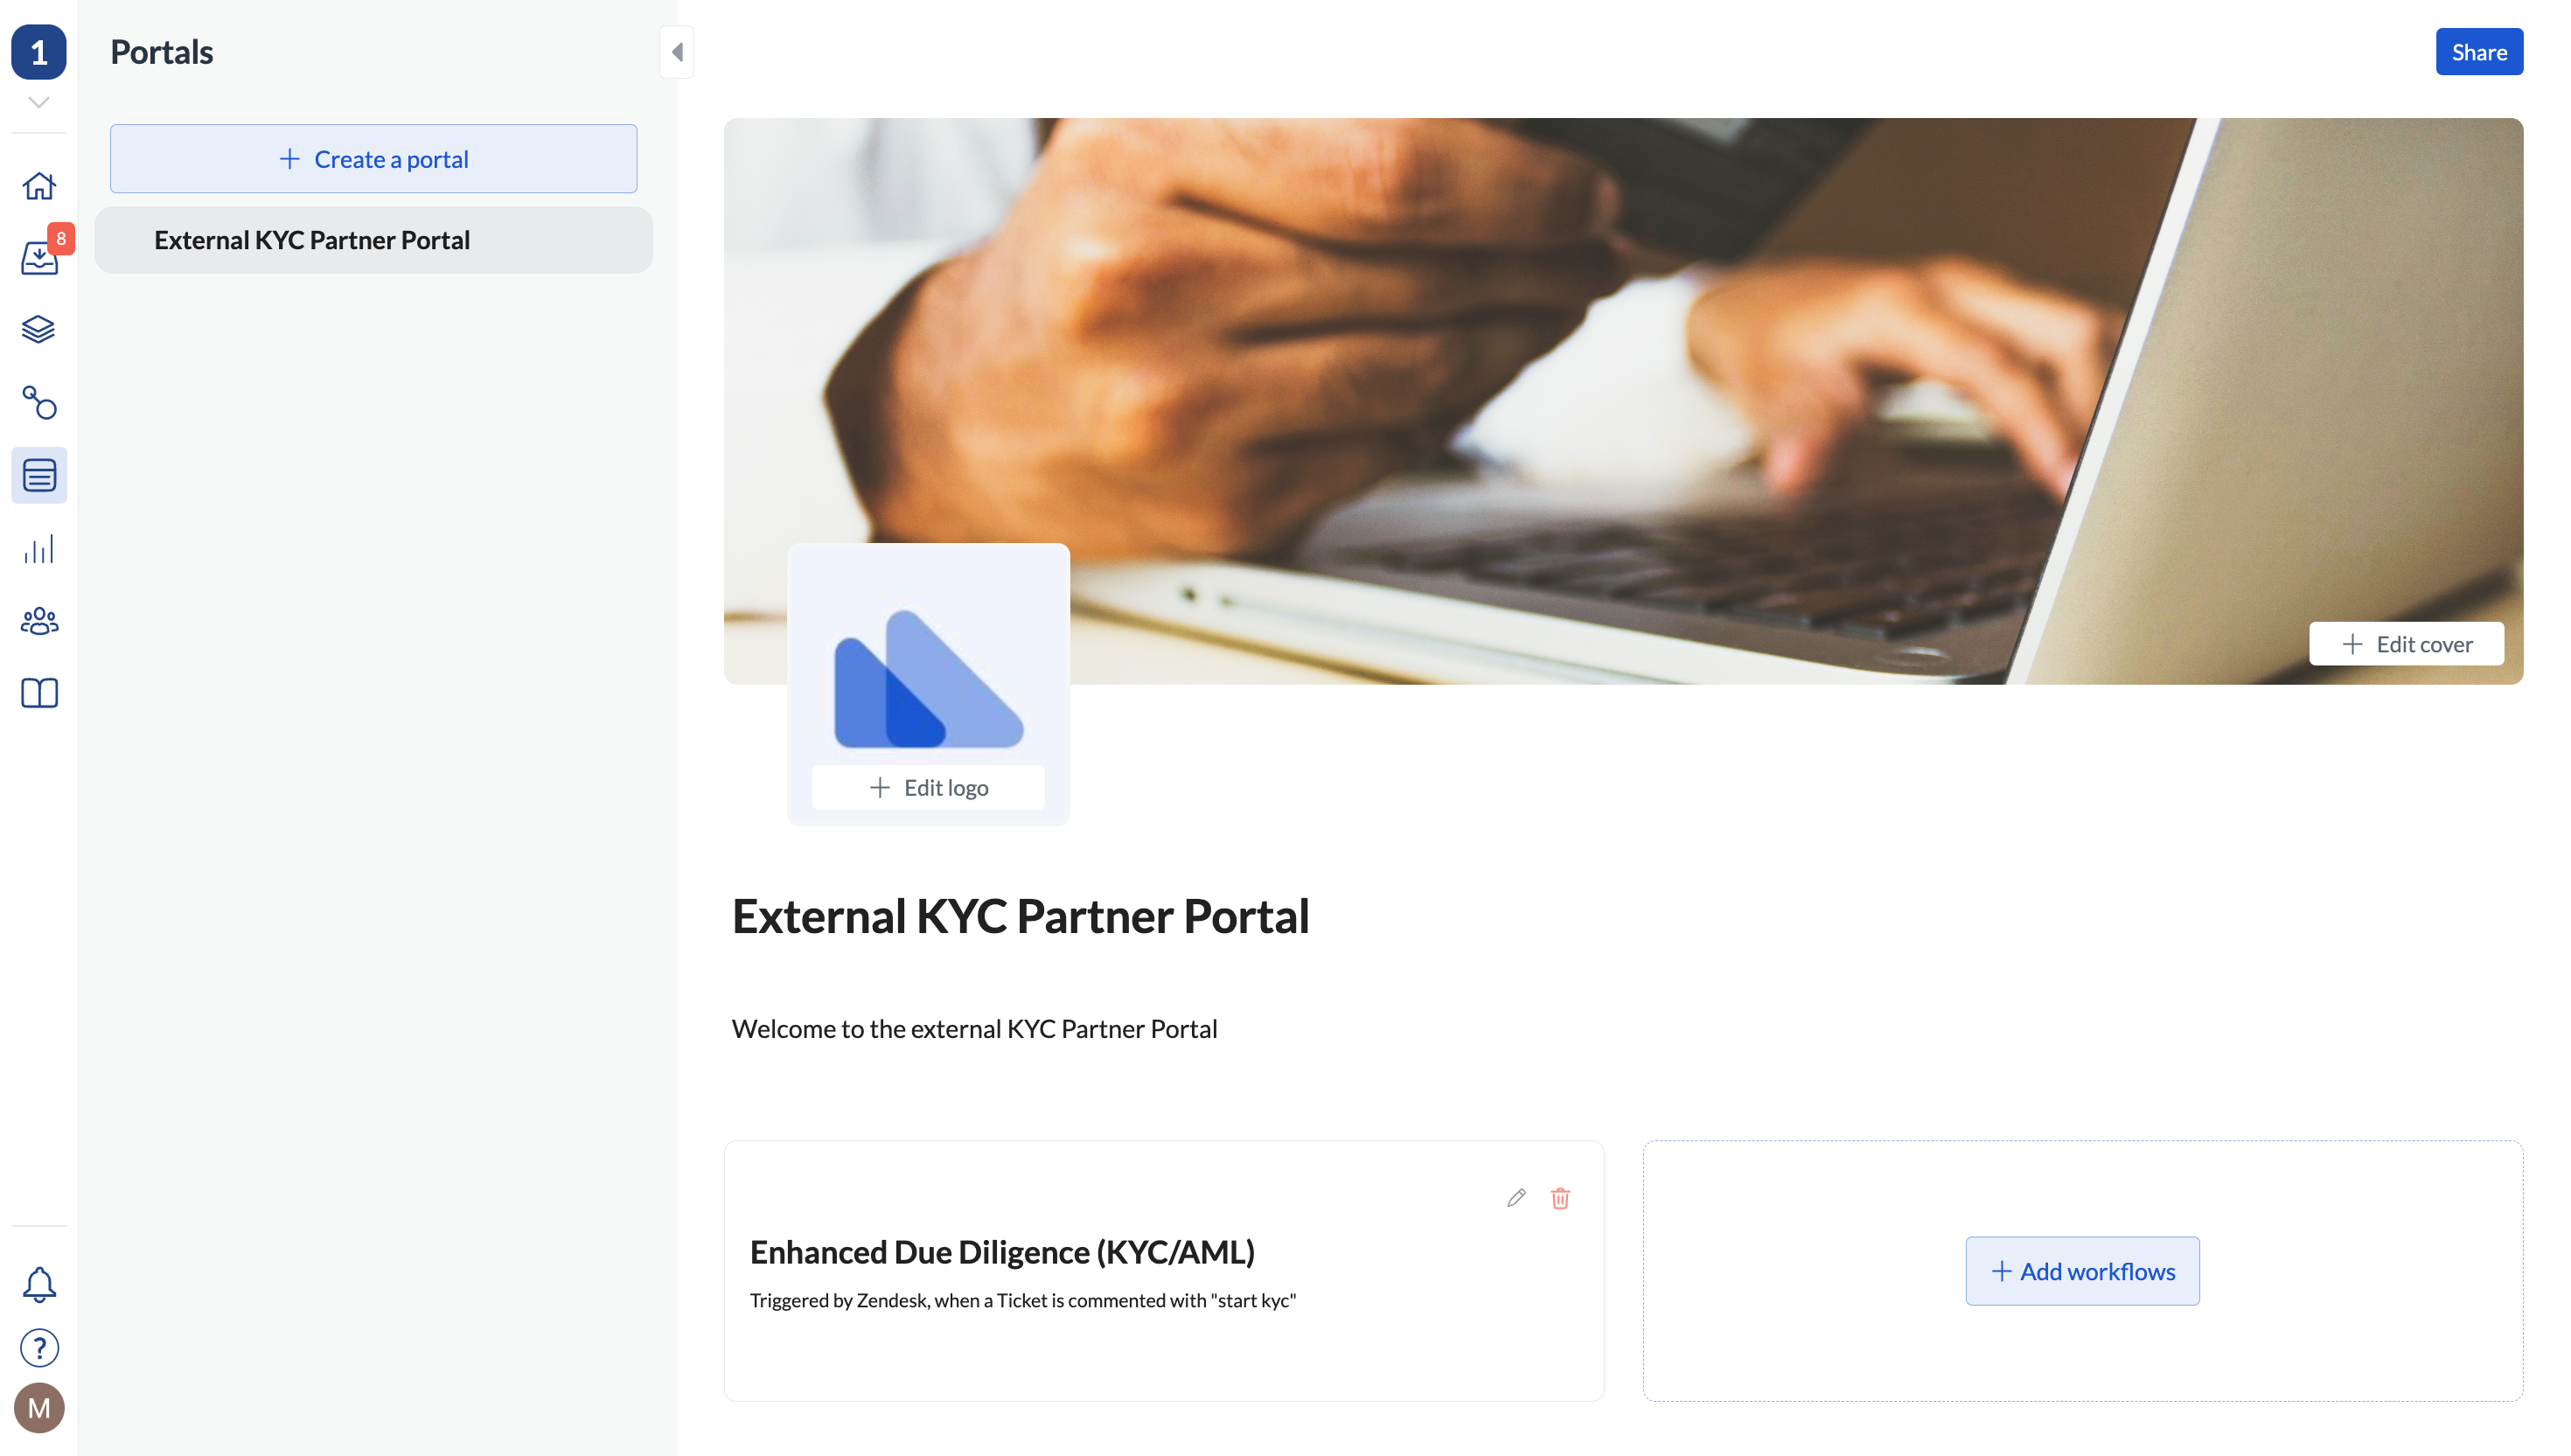
Create your portal. Note that you need to be an admin to do it.
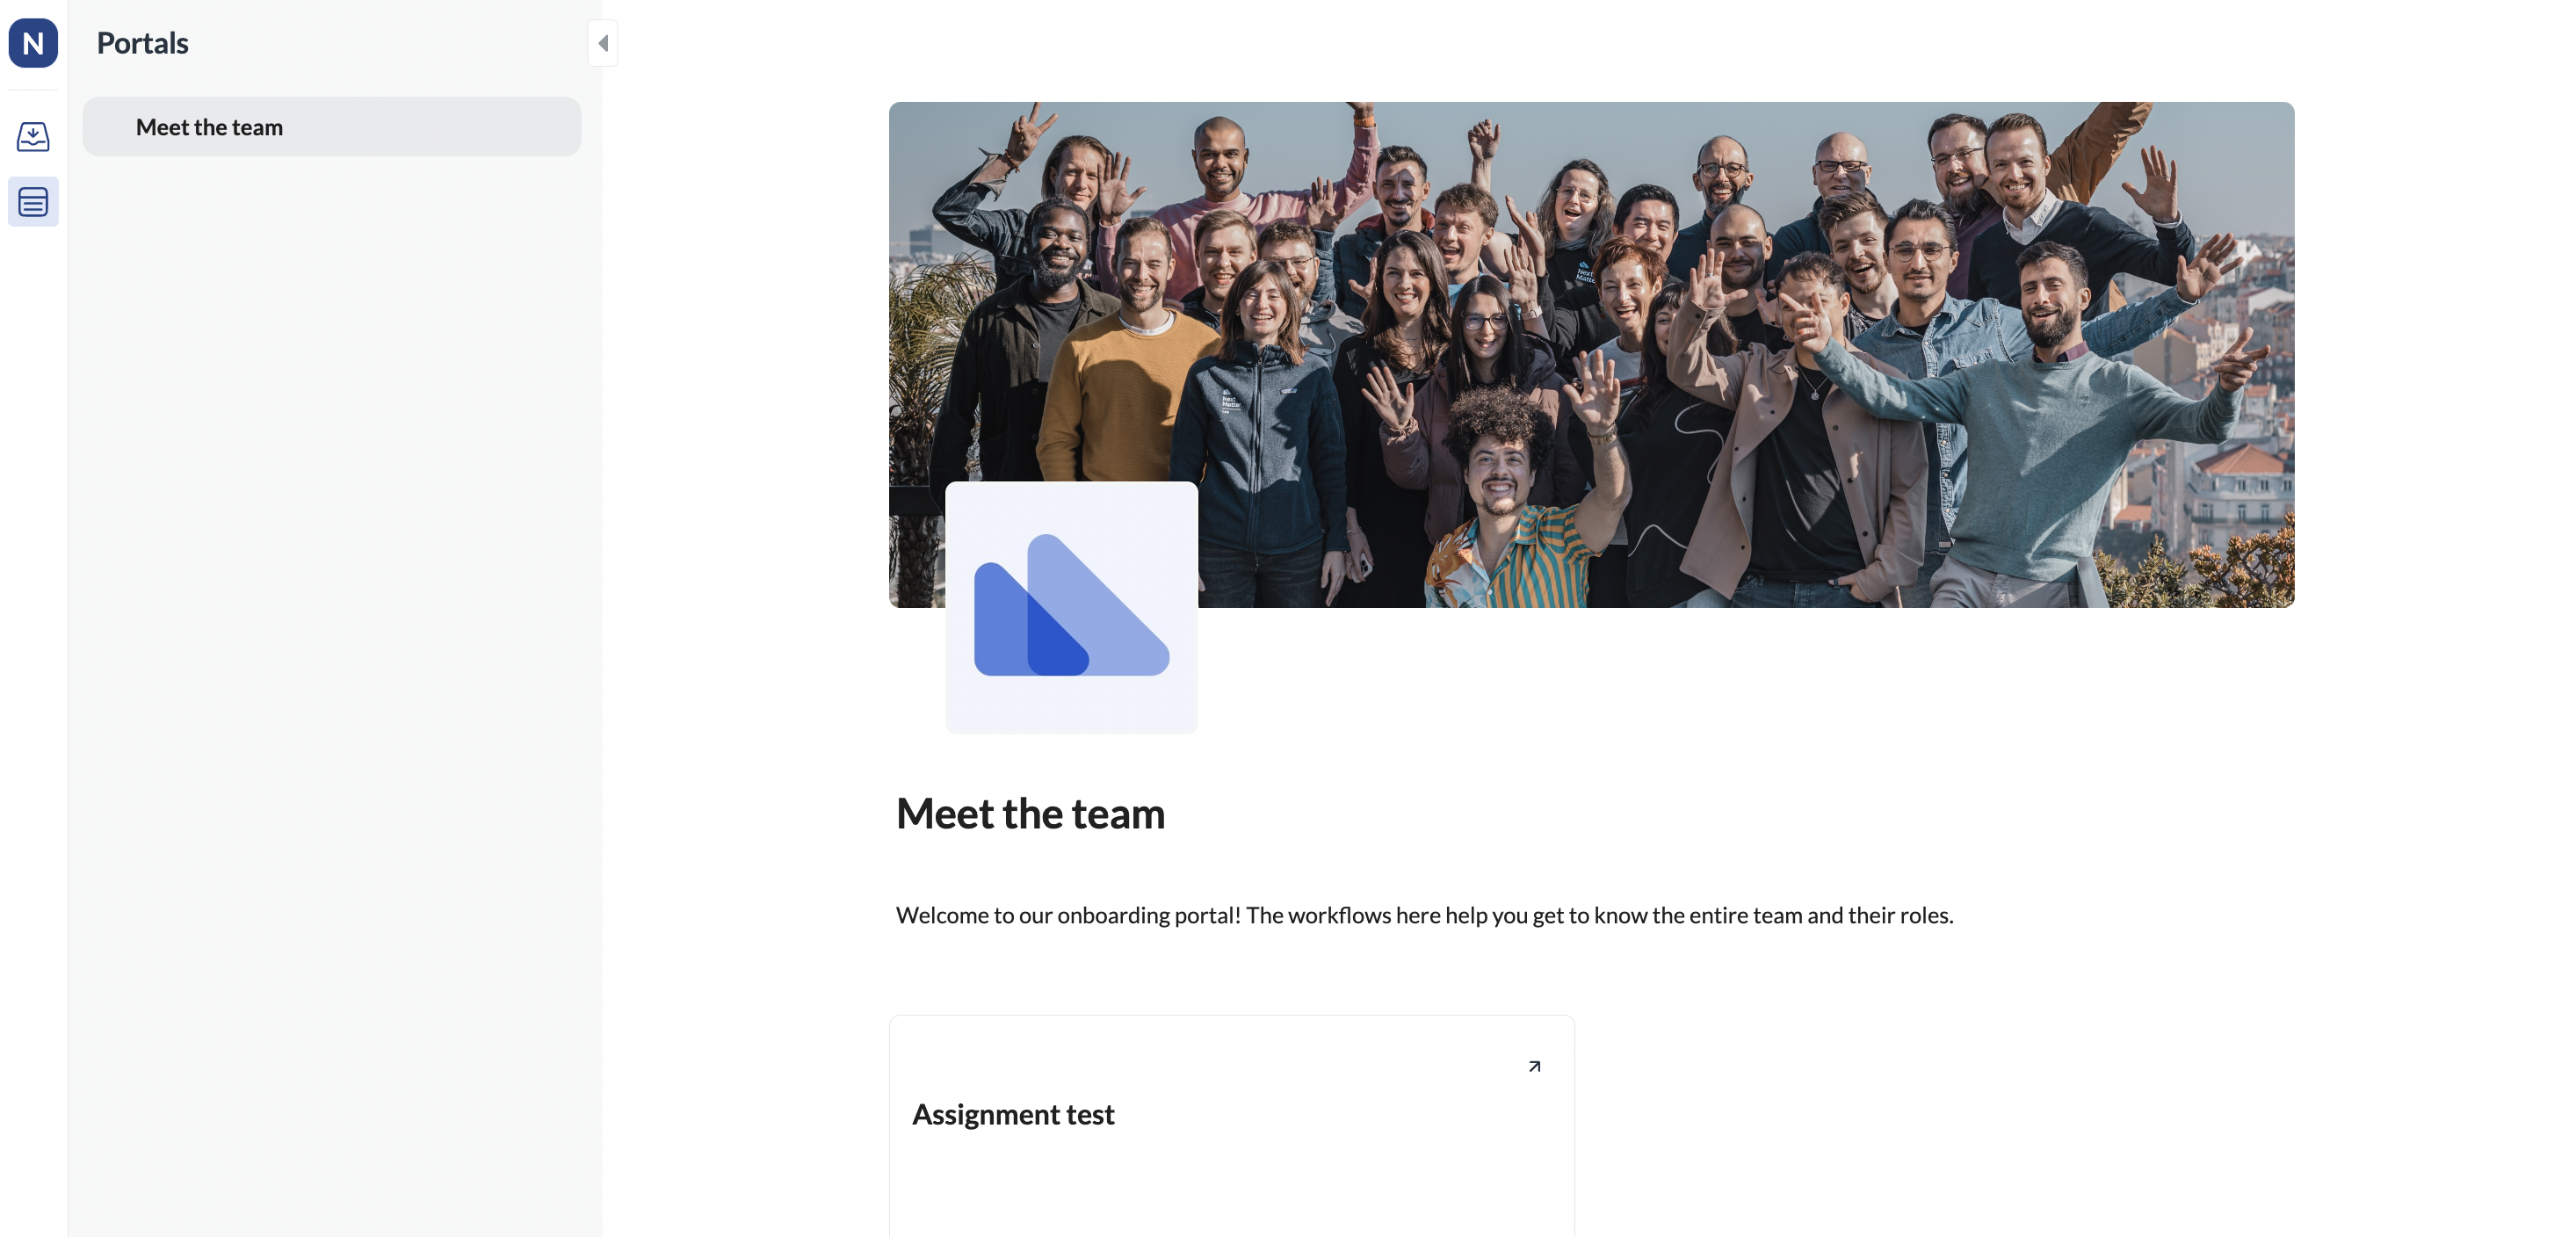
- Go to Portals.
- Click Create a portal.
- Click Unnamed portal in the navigation bar to start editing.
- Give your portal a name and a welcome message. Those will be visible to users. Note that the name must be 40 characters maximum.
- Click + Add workflows.
- Select one or many workflows to add to the portal. You can also select private workflows to share.
For the workflow to be shareable, it needs to be published and have at least one step added to it.
- (Optional) If you need your workflow to be called a specific name that users recognize, click the pencil icon on the workflow tile to edit it. The new name and description will only change in the portal.
- Click Share in the top-right corner.
- Select the users (colleagues and light users) or teams to add to the portal. No need to add admins - they already have access to all portals.
- Click Save. Tip: You can also click Copy link and share the link to the portal directly with the users.
When the user logs in with their credentials, they’ll see the portal and be able to start the workflow.
Tip: If you need to remove a user or team, click Share and deselect the user or team. When you save they will no longer have access to the portal.
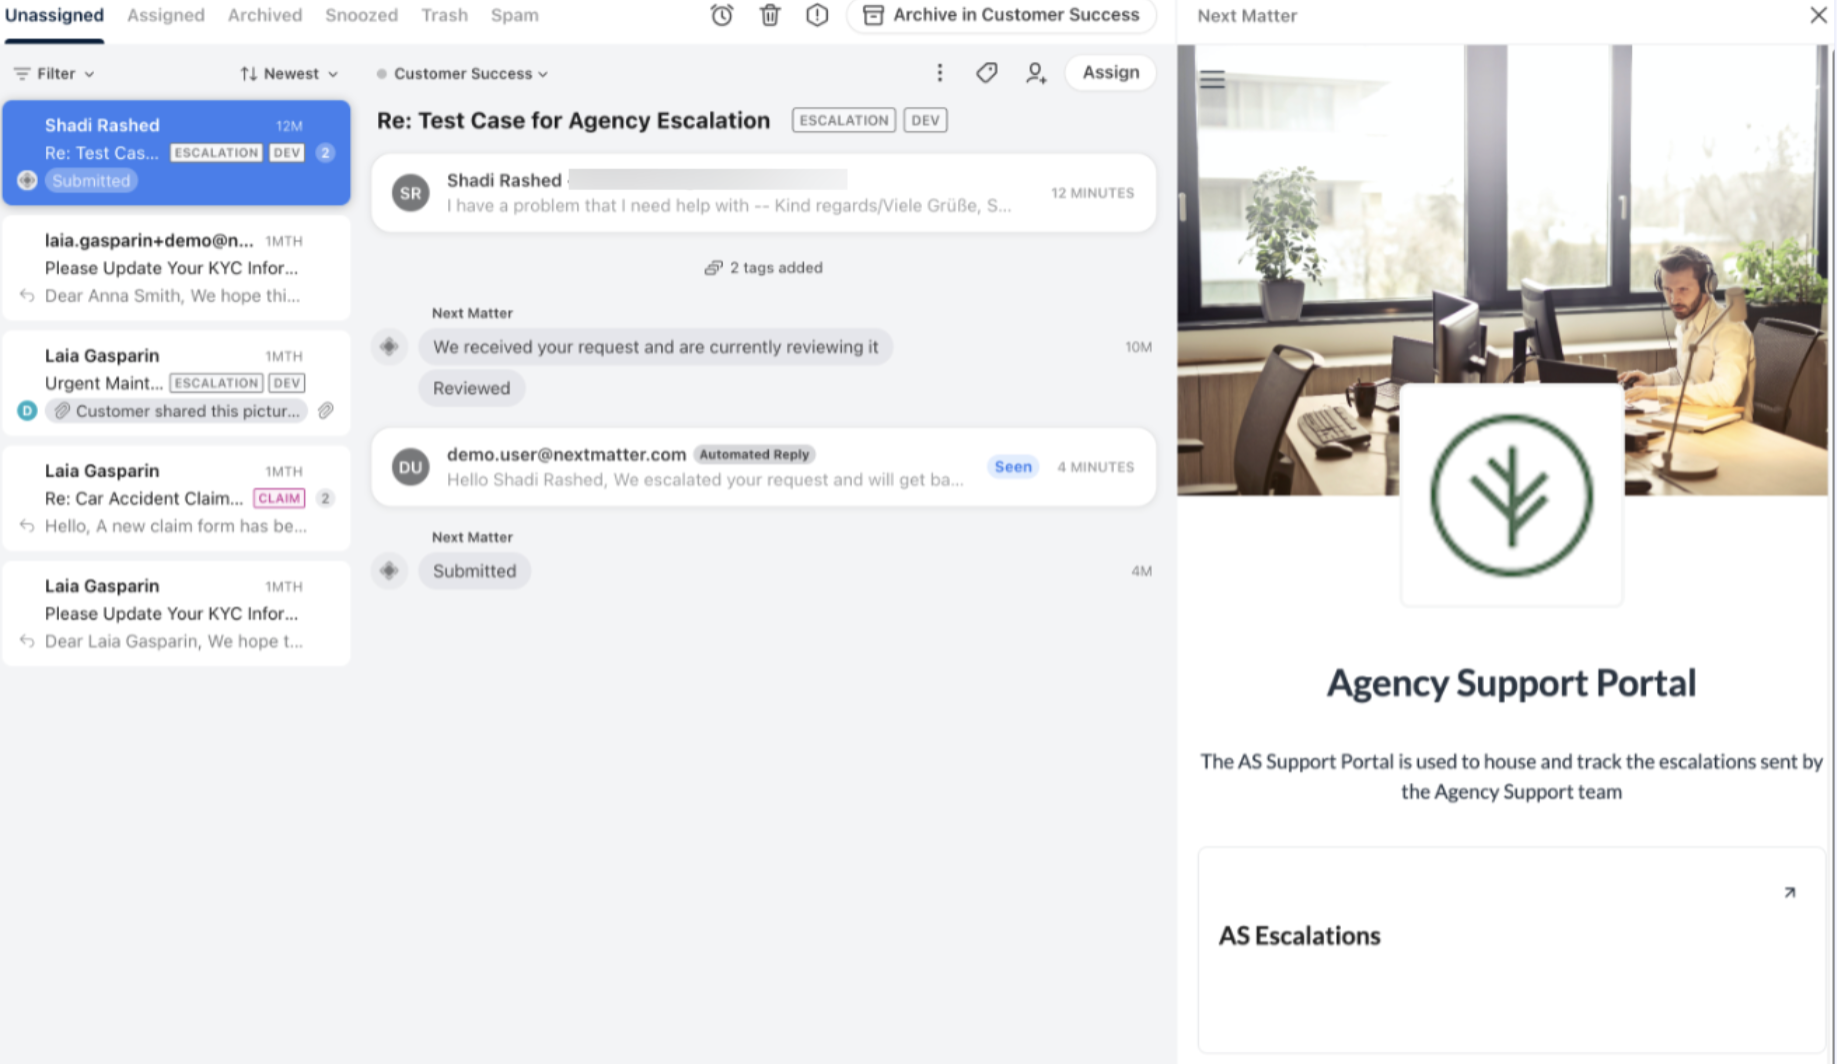
You can open your portal directly from the Front or Zendesk sidebar! For details on sidebars, see Sidebars Test portals before launch
As an admin, you can switch to the light user view and check that everything works before sharing the portal with your users.
Go to your user profile [bottom-left corner] and click Light user view.
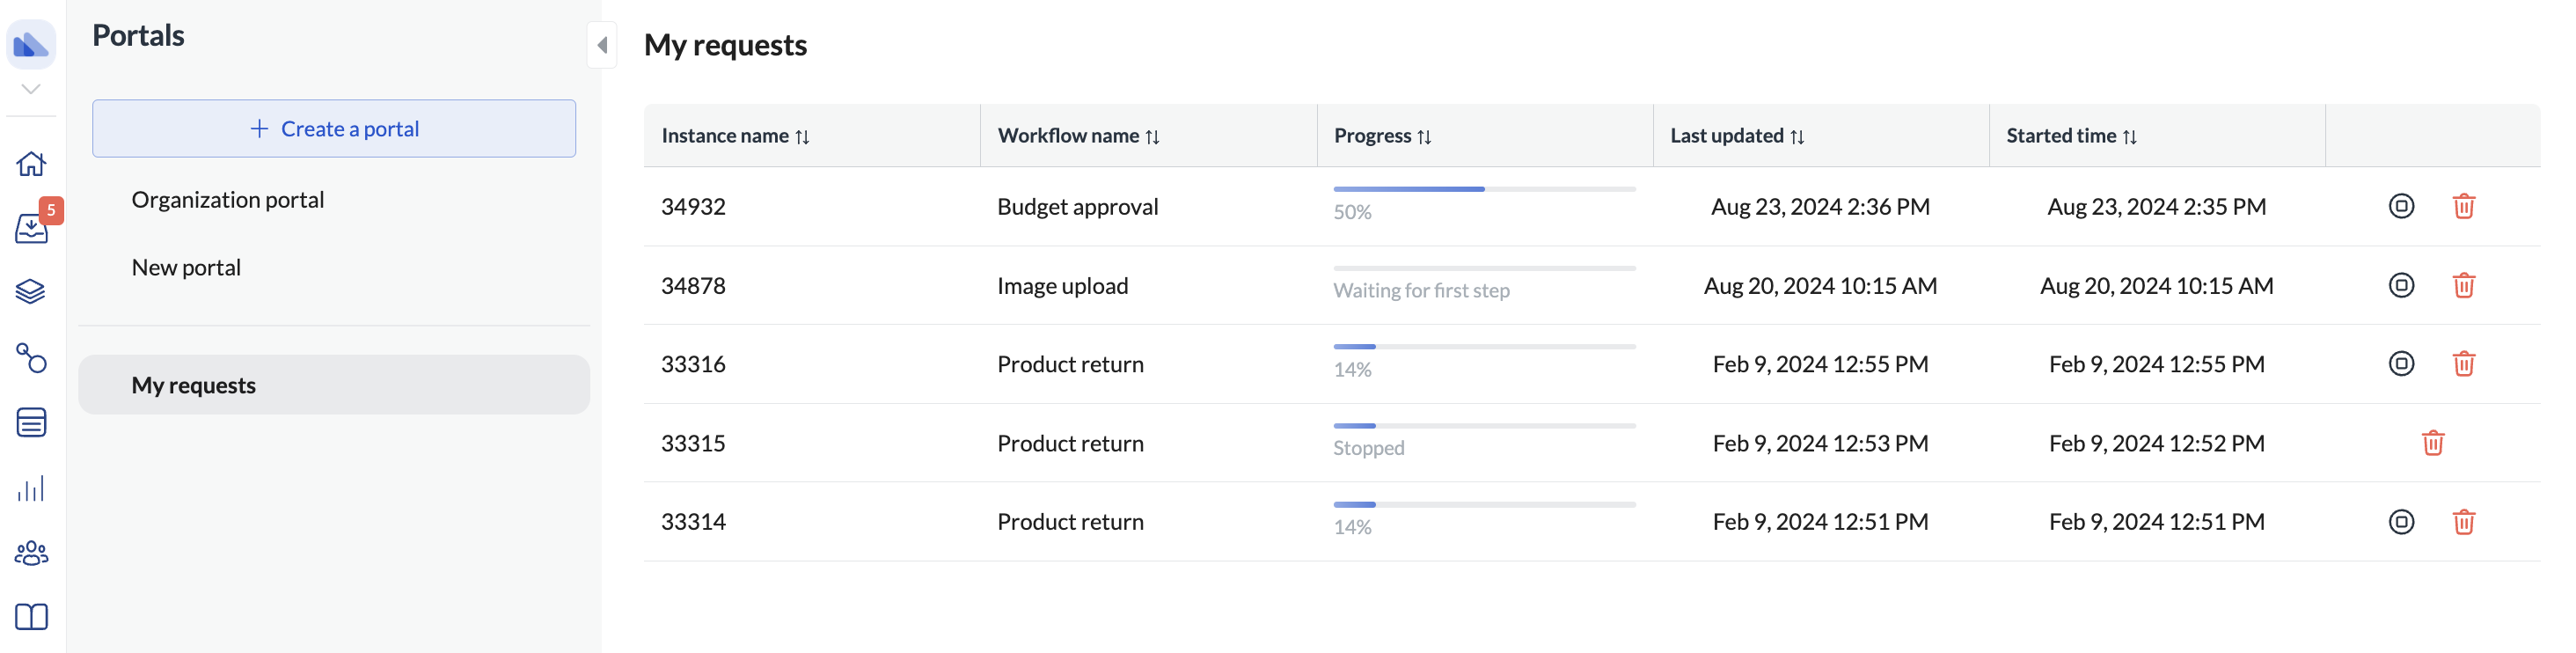
Track your portal requests
If you only have access to Inbox and Portals and want to track your open requests and see their status, you can do it by clicking the My requests tab in the Portals left-hand navigation.
The read-only list will display all your requests showing the ongoing ones first and completed later. You can also sort the requests (workflow instances) by start and update times.
If you are a regular user of the entire Next Matter portal, you can click on each request and see the details of each instance.
If you decide the request is no longer needed, you can also stop or delete it.