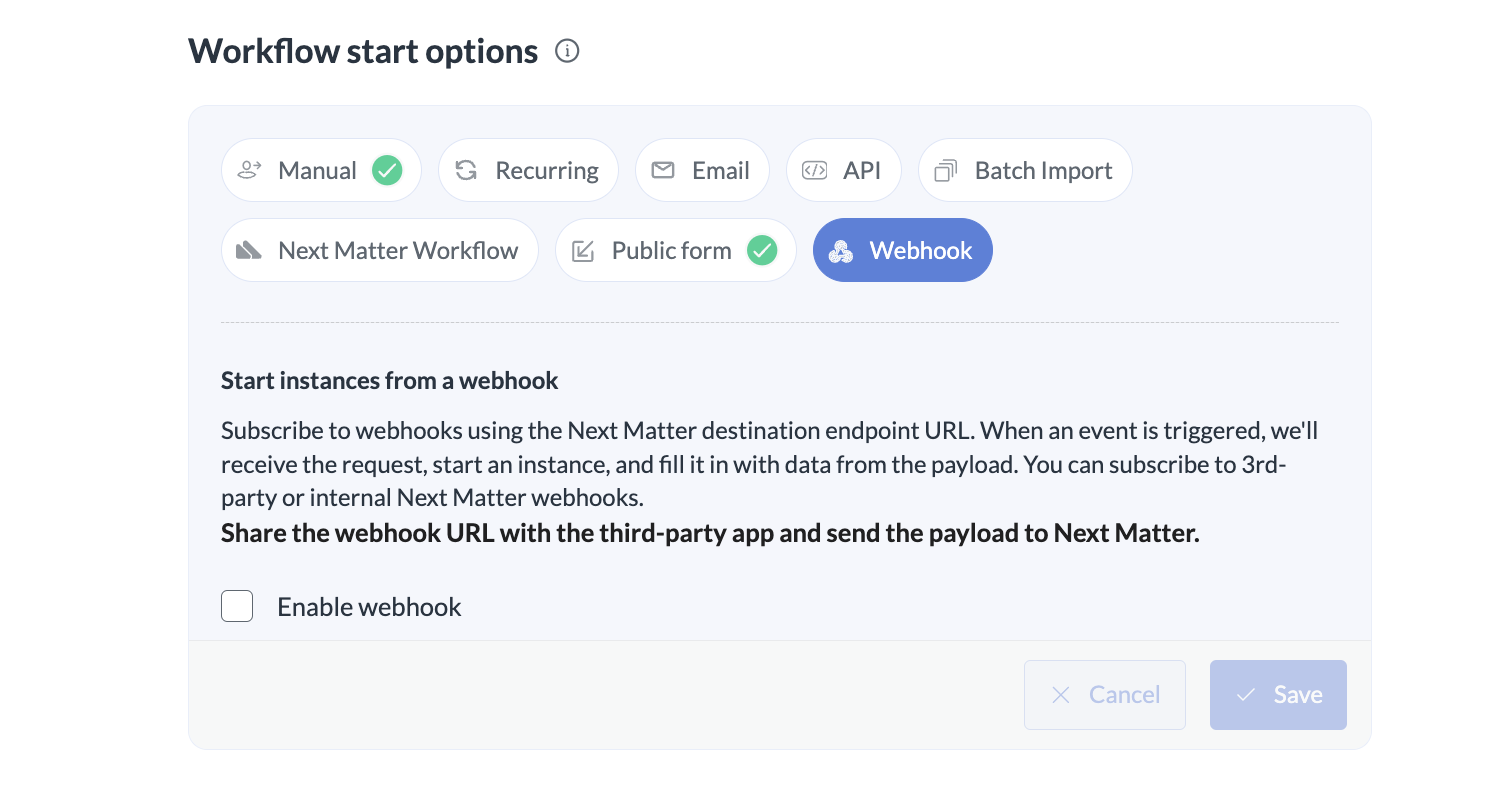
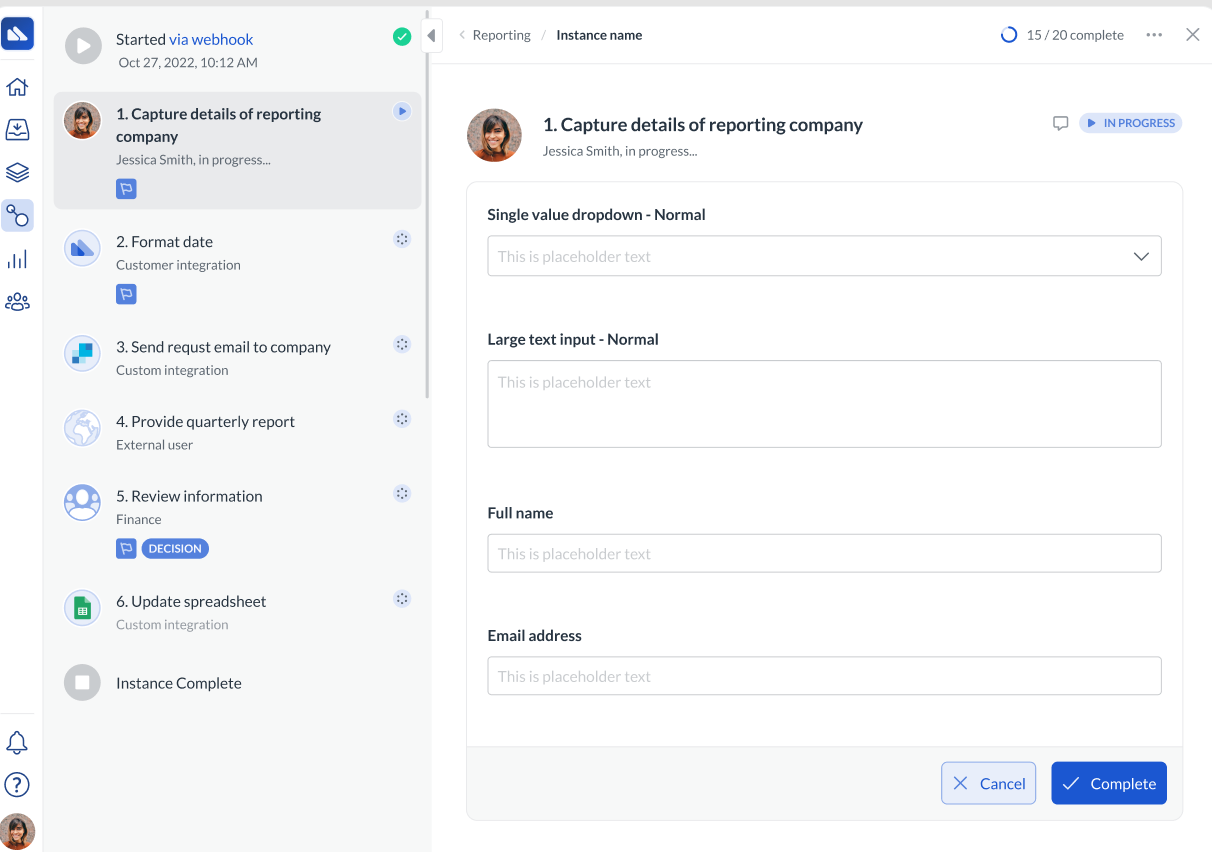
Use a Webhook trigger to start a workflow when an event occurs on a different platform (such as a customer response on a customer support ticket or a change to the application status in your applicant tracking system). You can also analyze the webhook response payload and extract useful variables that you can use in further steps of the workflow.
You can find the destination webhook URLs in the developer documentation of the third-party apps.
Watch a tutorial
Set up a webhook
-
Go to Workflows.
-
Click Create new …> Start a new workflow.
-
Give the workflow a name and click Create.
-
Click the start section in the left-hand panel.
-
Select Webhook trigger.
-
Select to enable the webhook.
-
Copy the Next Matter URL from the webhook URL field.
-
Go to the third-party app and select the payload you want to send to Next Matter
-
In the third-party app, make a POST call to the copied Next Matter URL. This way we’ll be able to receive the payload.
-
Go back to Next Matter and click Test webhook and select variables. This will fill in the response body with payload data, and populate the variables dropdown.
We recommend running the webhook test from time to time to make sure the payload is up to date. If the new payload doesn’t return some of the variables that have been selected, these variables get highlighted and should be deleted so that they don’t break the workflow.
-
Select the variables from the dropdown and click + Add for every variable you want to use later in the workflow. You can also add your own variables in the Active webhook variables section. If you plan to re-use these variables in further steps, the variables will display in the workflow metadata section as webhook variables.
-
Click Save.
Now, when an event happens, it triggers an instance and automatically populates the workflow data as per the selected variables.
Disable the webhook
If you don’t need a webhook anymore, you can disable it by clearing the Enable webhook box.
Note that this action deletes all data related to the webhook. If any workflows still use the variables extracted from the webhook’s payload, these variables will show as broken and might cause the workflow to fail.
Use a webhook variable for a dynamic list
When you receive a list as a response to a trigger and want to create a dynamic dropdown from this list, first select the list and turn it into a variable. Then you can use the variable as the source for a dynamic dropdown. Make sure you use [*] in the variable value. For example, $.mylist[*]. This will ensure the list is parsed correctly.
Learn more about dynamic dropdowns 


