Before you begin
- In your Next Matter portal, go to Automations library, click Connect in the Front app tile, and enter the Front API token to connect. You only need to add the token without the
Bearerpart. - Verify Front rate limiting caps, especially if you’re planning on running multiple instances daily. It might happen that when you exceed the cap defined for your plan, your Front integration steps will start failing.
- Check the required scopes to learn more about which data is shared between the apps.
Use Front integration
Create message
- Click Workflows > + Create new… > Create a new workflow and give your workflow a name. If you have a workflow ready, click … > Edit workflow.
- Click + Add step and select Integrations > Front.
- Click the step and click Configure integration.
- Select Create message in Front action.
- Enter the channel, the recipient, and the content of the message. Tip: if you can enter multiple recipients, separate the email addresses with a comma.
- (Optional) Select the team signature to sign the message with. If you select None, the message will be sent unsigned.
- (Optional) Toggle on if you want to move the conversation to the Archived tab in Front when you send it.
- (Optional) Select conversation ID in the Select data to reuse and click + Add. This will turn the ID into a re-usable variable. Pro tip: You can use the variable whenever you want to add a comment to the conversation. Using a variable will spare you the hassle of looking up the Conversation ID in Front.
Add comment
- Click Workflows > + Create new… > Create a new workflow and give your workflow a name. If you have a workflow ready, click … > Edit workflow.
- Click + Add step and select Integrations > Front.
- Click the step and click Configure integration.
- Select Add comment in Front action.
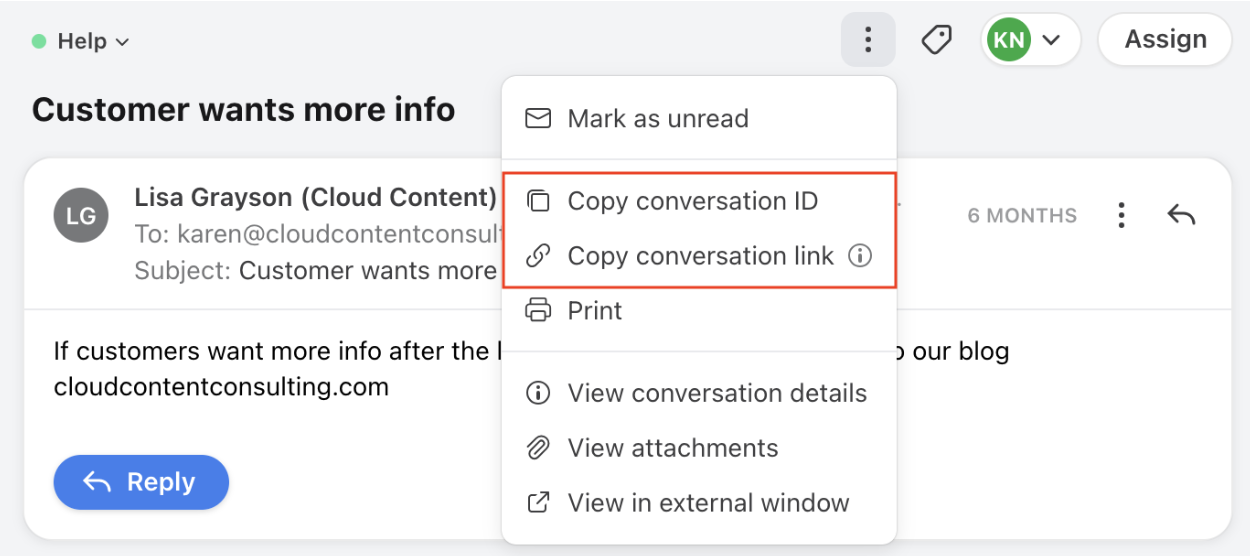
- Enter Conversation ID from Front. To find the ID, select a conversation, click the three-dot menu at the top, and select Copy conversation ID.
- (Optional) Add the author - this is the person whose avatar will be visible in the conversation, and on whose behalf the message is sent out.
- Enter the comment.
- Save your changes.
Signatures
In Front, administrators can create and distribute a team signature for email channels. This signature can be assigned to a particular channel or all channels the team can access. Additionally, a default signature can be set for the entire team. In Next Matter no-code actions for Front, you can decide to sign a message you send. You can select one of the three available options:- None: no signature is added
- A specific team signature: we show all the available team signatures in the dropdown. We display signature names as they’ve been defined in Front.
- Default signature: the signature your Front admin has defined as default for the team in Front. If you pick this signature, make sure you know which signature has been defined as default.