- Create a public form
- Create a user portal
- Create a step and assign it to an external user
Watch a summary video
Watch a summary video
Create a public form
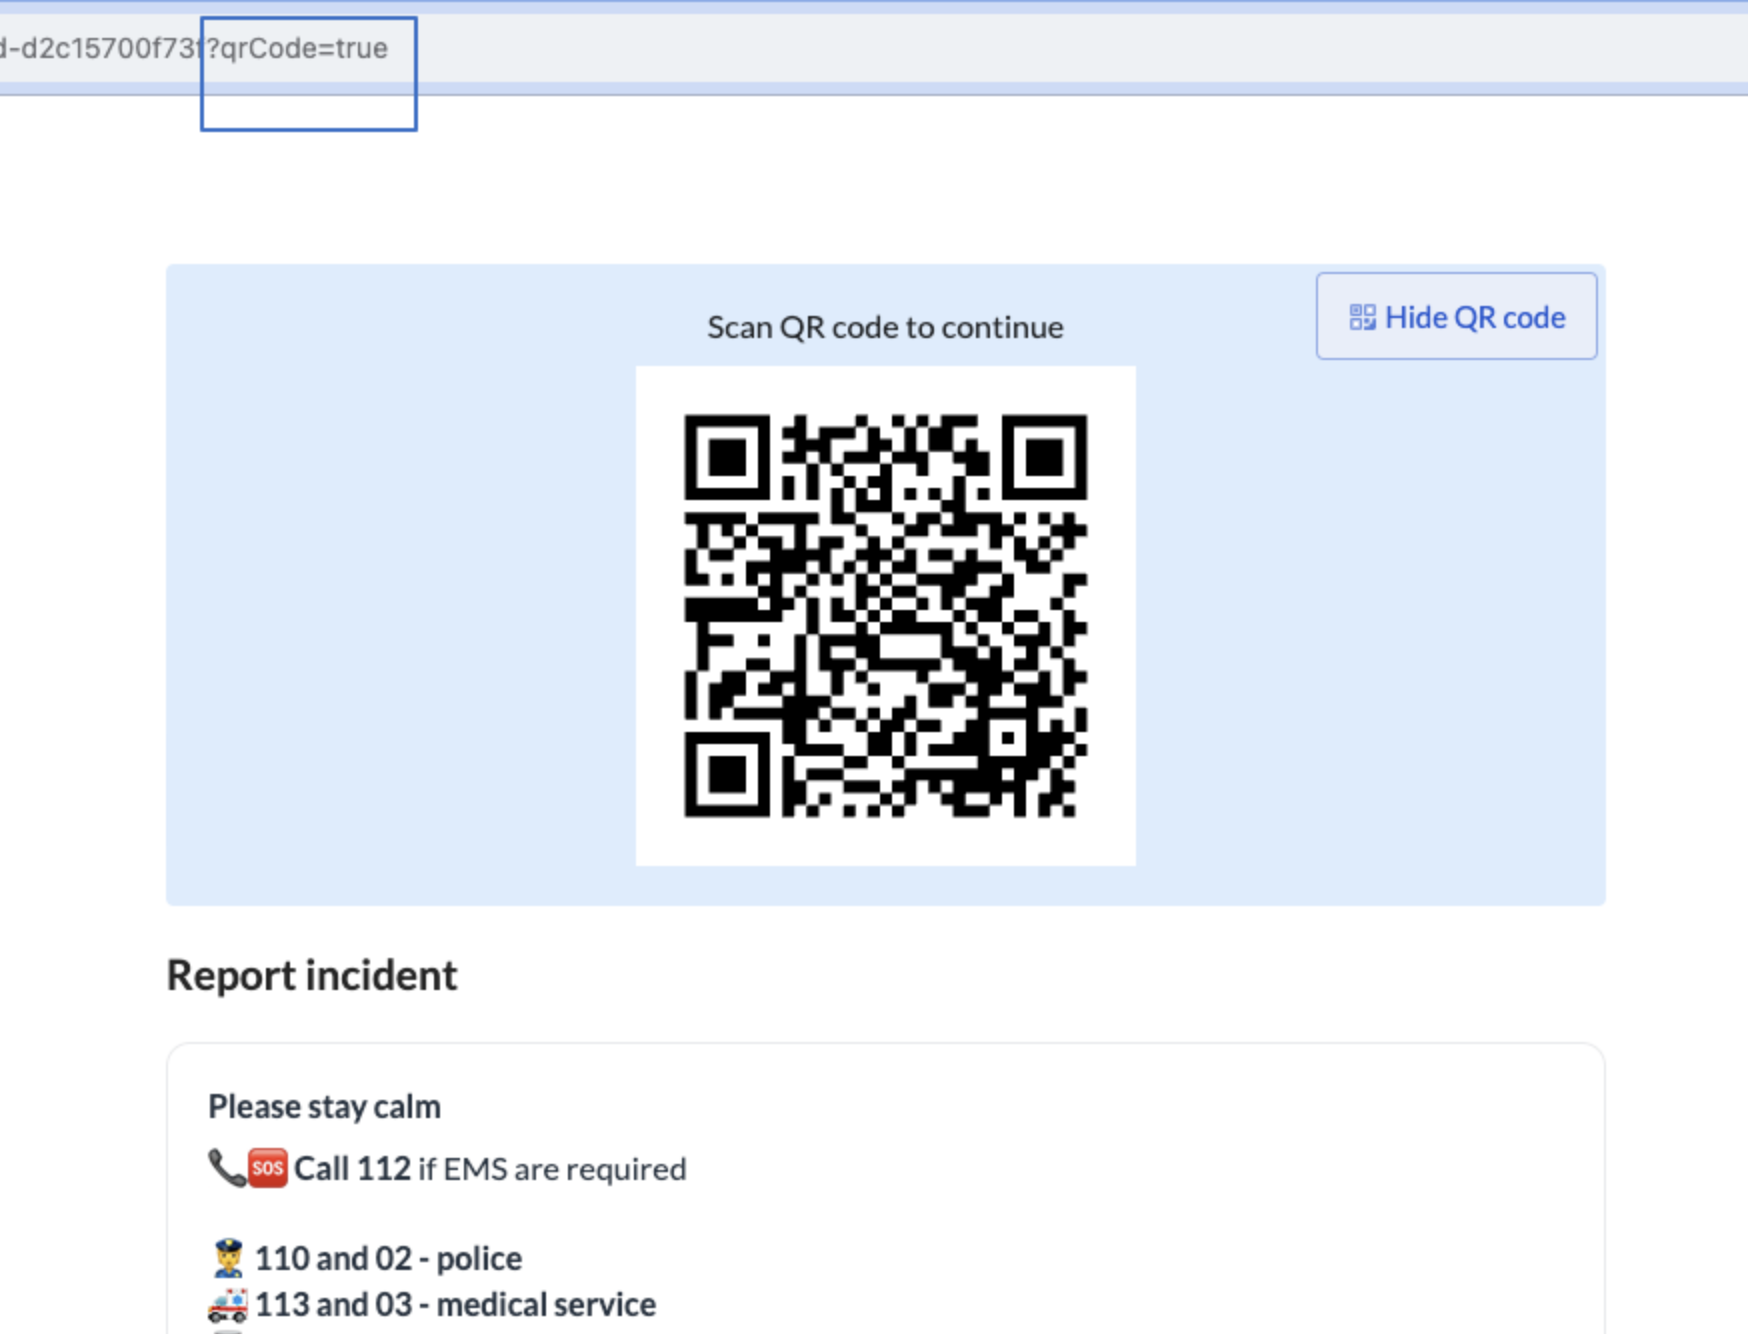
Use a public form when you want anyone with a link to be able to complete a form and start a workflow. The form is normally the first step of the workflow and can be easily accessed by scanning a generated QR code or a link. That’s why it’s a good solution anywhere where users use mobile devices and use the form to quickly log sth (an issue in a warehouse or a car failure).Set up a public form
Set up a public form
- In your Next Matter portal, click Workflows.
- Click Create new > Create a new workflow.
- Enter the workflow name and click Create.
- Click Add step > Form and create a new form. Assign it to the User triggering the workflow. This will be the form the external user will see.
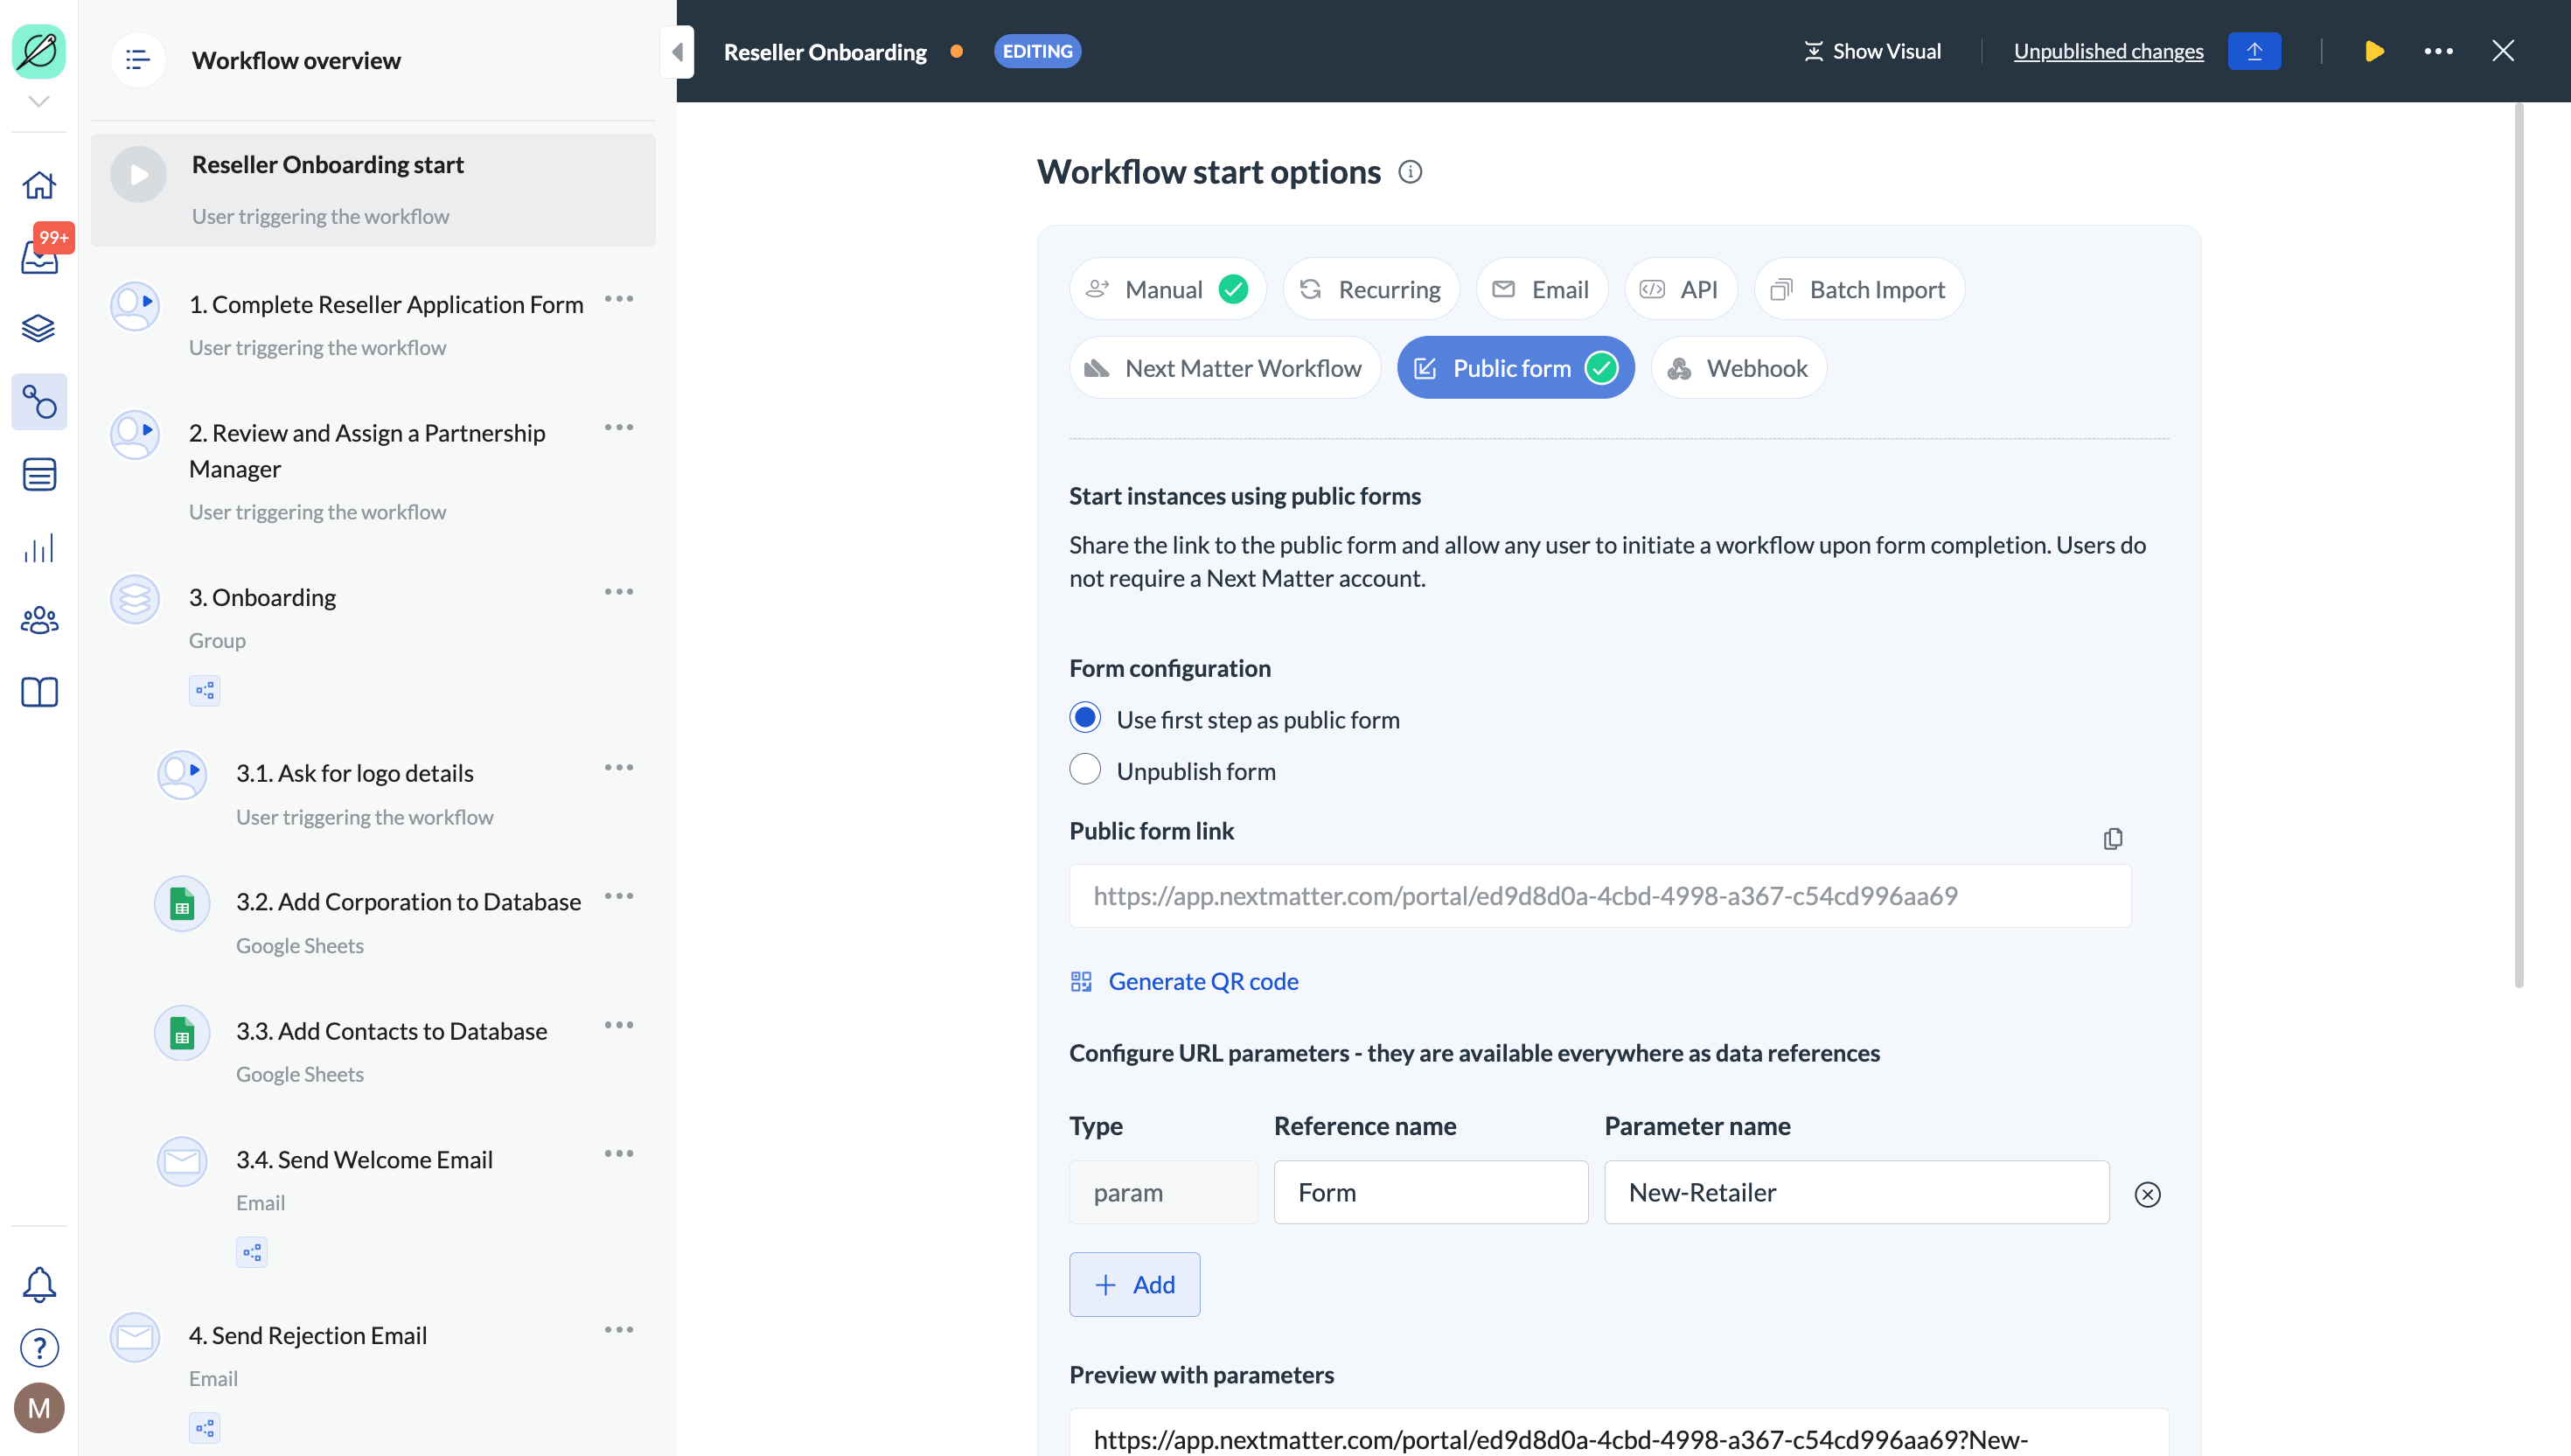
- Click the start step under the workflow overview.
- In the Workflow start options, click Public form.
- In Form configuration, click Use first step as public form.
- Enter the instance name.
Create a portal
Portals are a good solution when you want to share multiple workflows with a number of users. You create a user hub, add workflows you want to share, and send the link to whoever needs access. You can share portals with teams, colleagues, or light users (users who have access to portals and their inbox and require a Next Matter account with a light user role). For details, see Portals.Create a form step and assign it to an external user
If you want to send an external user a form they can fill in as part of the workflow, you can also create a form step and assign it to an external user. Then create an email to the user and use data references to ink the created Public URL to the form. This way the user will be able to click the link and open the form without logging in.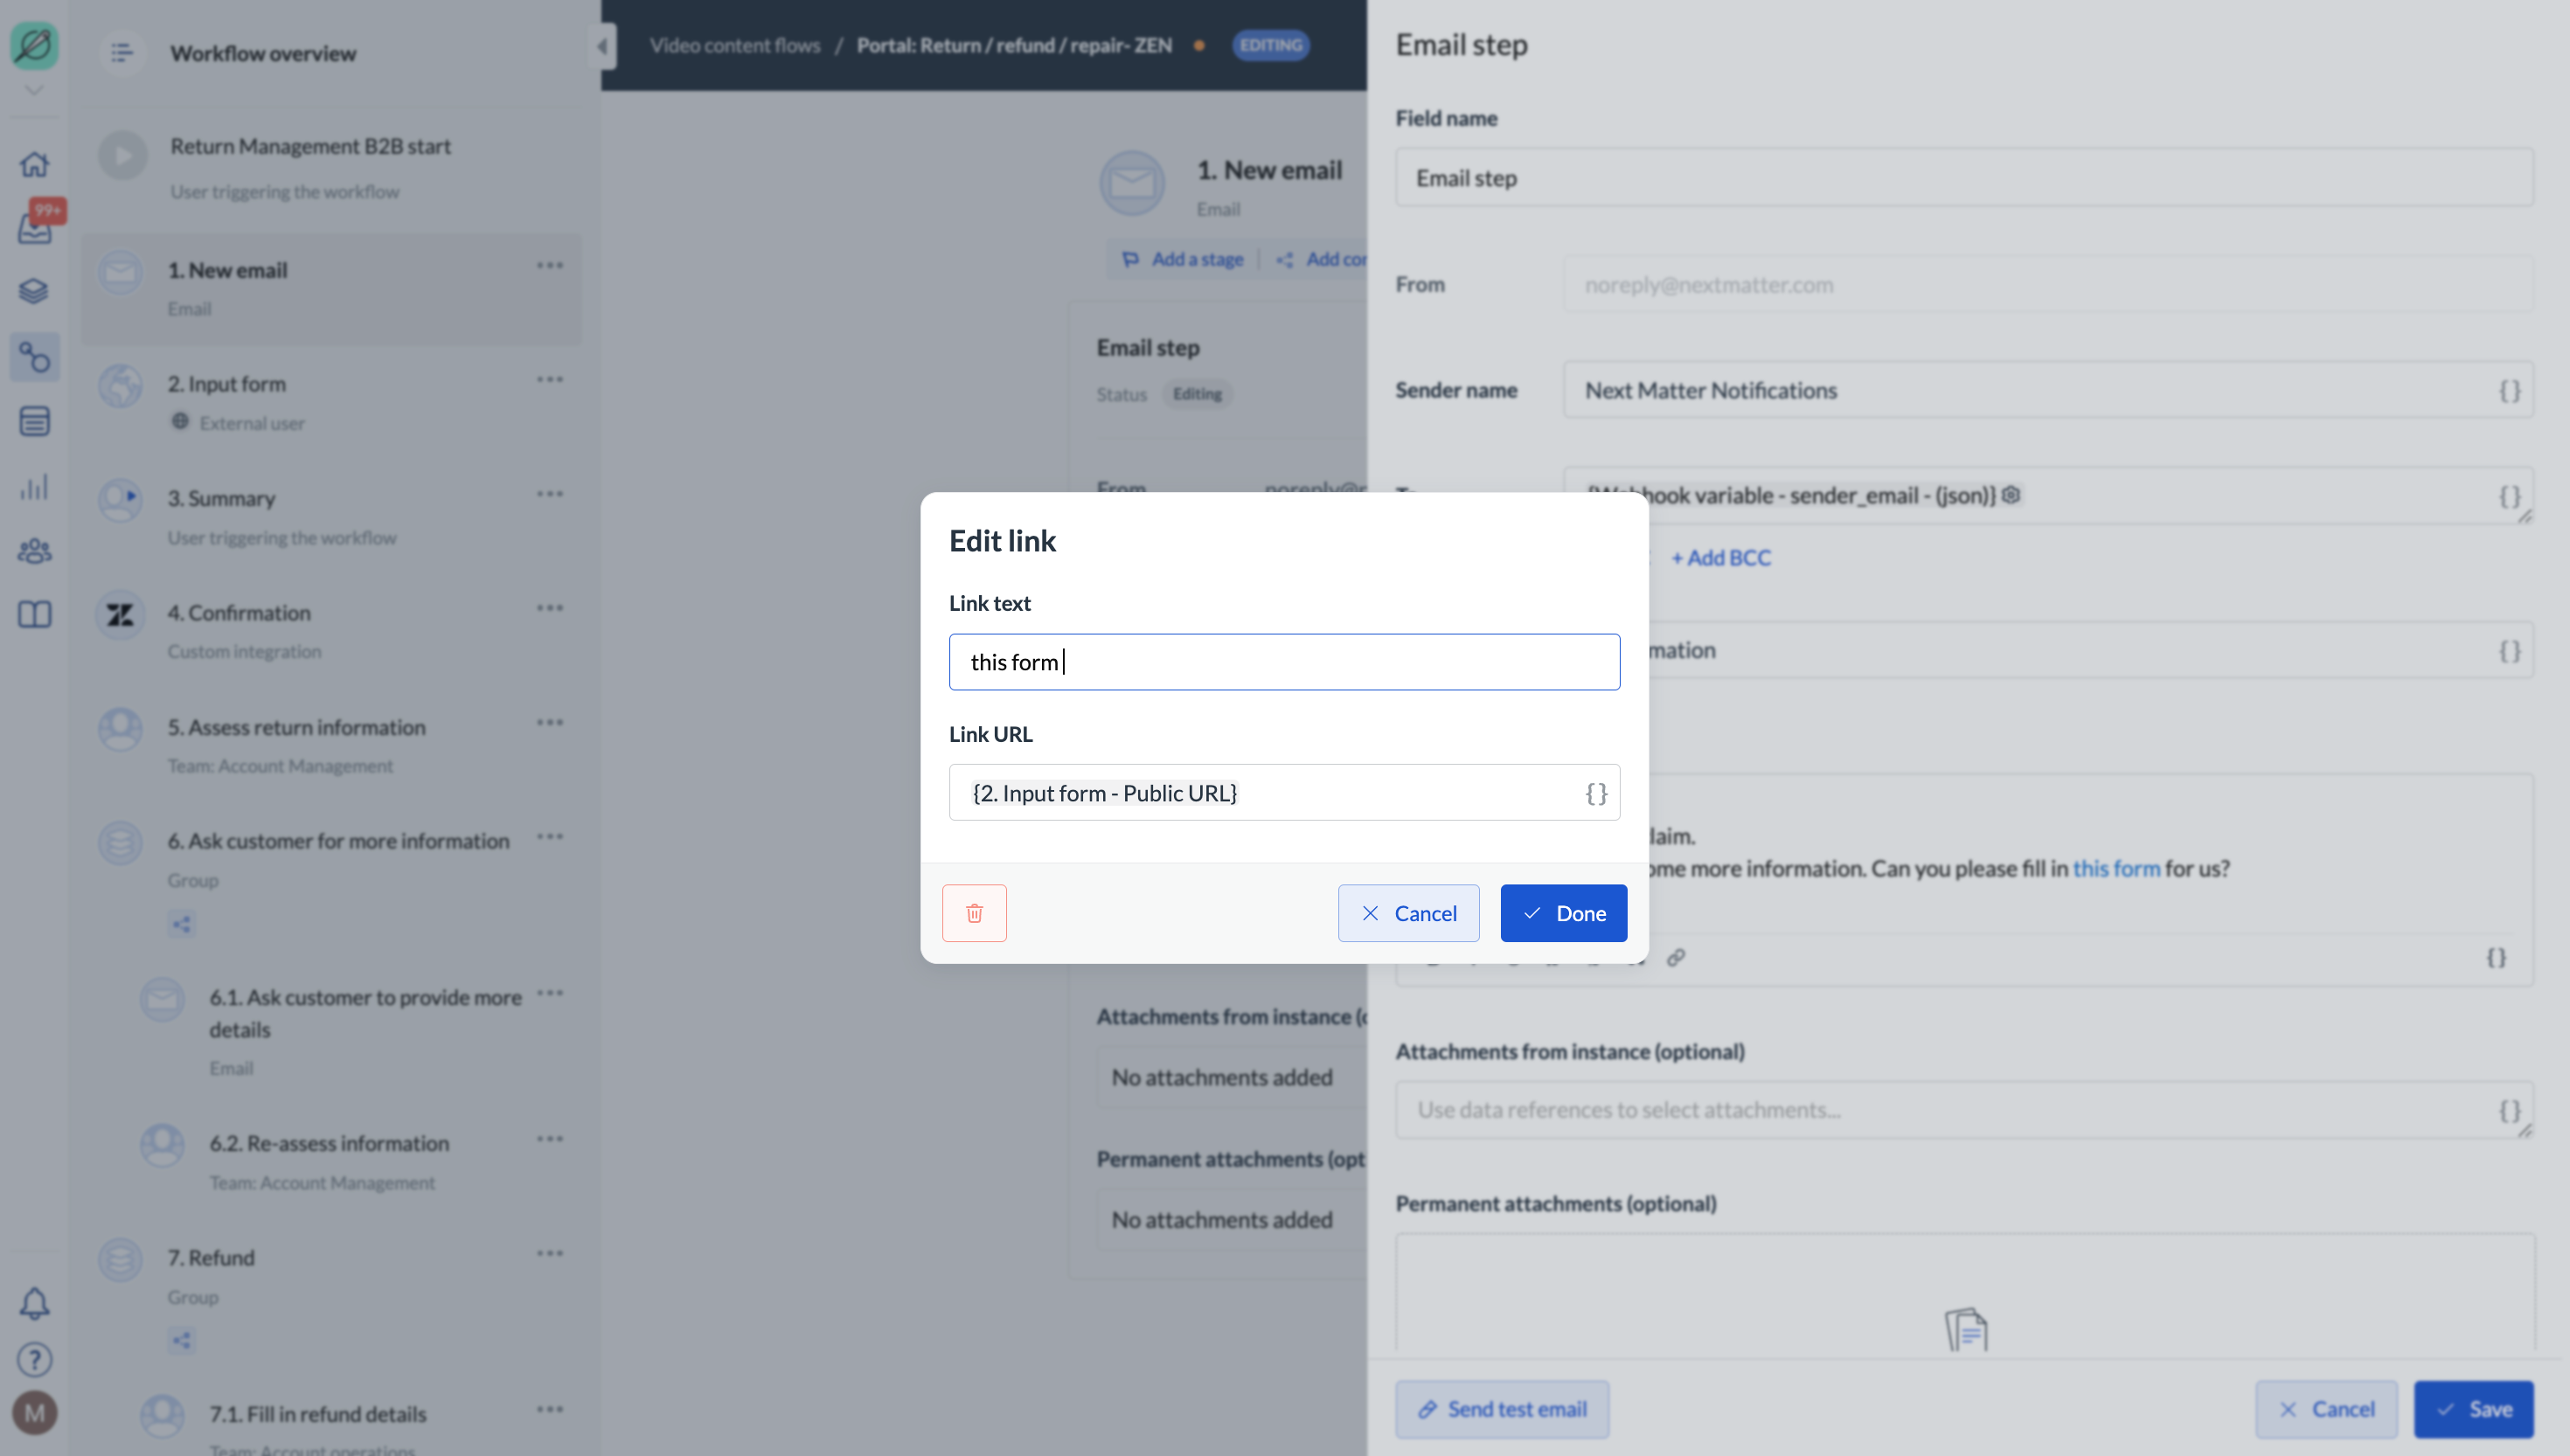
Enable instance tracking
If you want external users to be able to track the progress of the workflow instance they created, you can enable instance tracking on the workflow. You can enable tracking for any workflow. In the Workflow overview, toggle on tracking instances.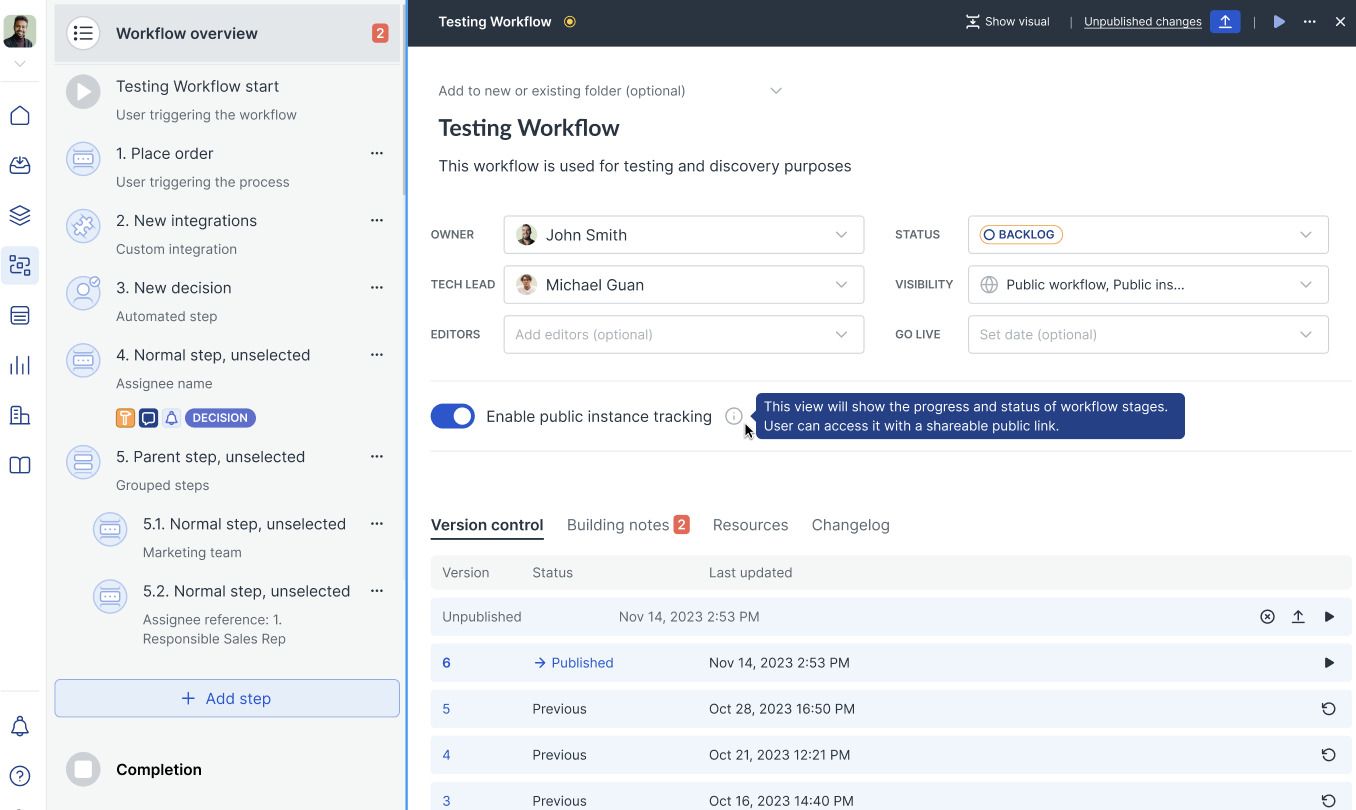
Make sure you create stages for the workflow for which you’ve enabled tracking. Stages will provide meaningful information to anyone wanting to monitor progress.