Run a workflow instance
Run a workflow instance
When you have created a workflow (your process template), it’s time to use it in real life. Each “real-life” application of a workflow is called an instance.You can run an instance by clicking the play button in the workflow.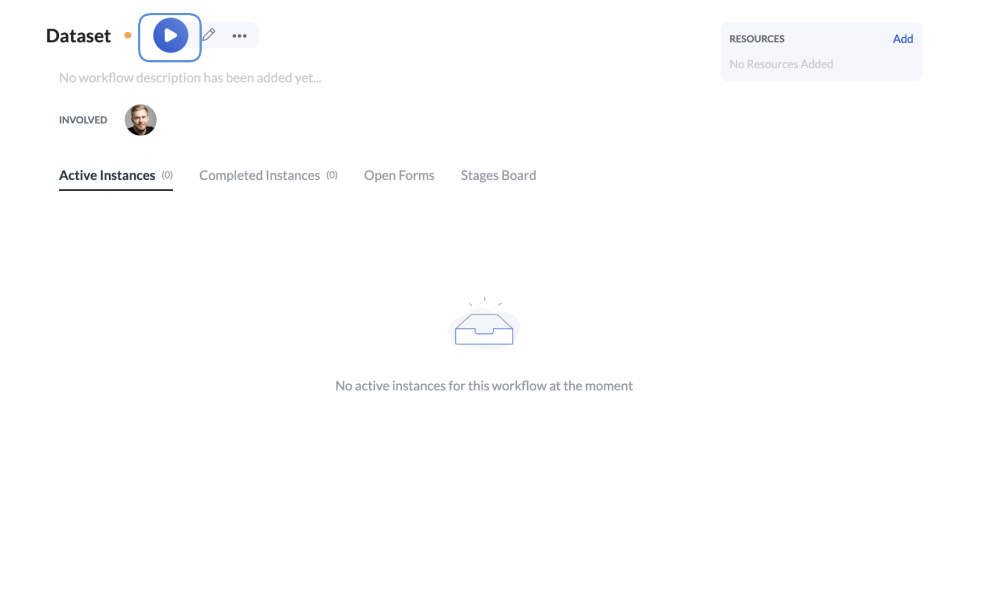
If you run an instance and it gets stuck on a step, refresh your screen.
Edit a workflow
Edit a workflow
- Click … next to the workflow.
- Click Edit workflow. You can edit the workflow lead, process visibility, status, and the go-live date for the workflow as well as add building notes and resources to the workflow. You can also add or remove a step from the workflow.
Notes:
- When you change something in the workflow, the changes will not affect the already running instances.
- Only one person can edit a workflow at a time.
Edit an instance
Edit an instance
- In the workflow overview, click the active or completed instance you want to edit.
- Click Edit instance. You can edit the instance’s priority, name, or deadline.
Duplicate a workflow
Duplicate a workflow
- Click … next to the workflow.
- Click Duplicate workflow.
Move a workflow
Move a workflow
You can move a workflow to another folder. Do the following:
- Click … next to the workflow.
- Click Move workflow.
- Select the new destination of your workflow.
- Click Move.
Delete a workflow and instance
Delete a workflow and instance
Contact us if you want to switch off the deletion option altogether, for example, for security reasons. In such cases, nobody (not even admins) will be able to delete instances.
- Click … next to the workflow.
-
Click Delete workflow.
If there are instances linked to the workflow, they’ll be listed in the pop-up for you to review.

- Click Delete workflow and all instances.
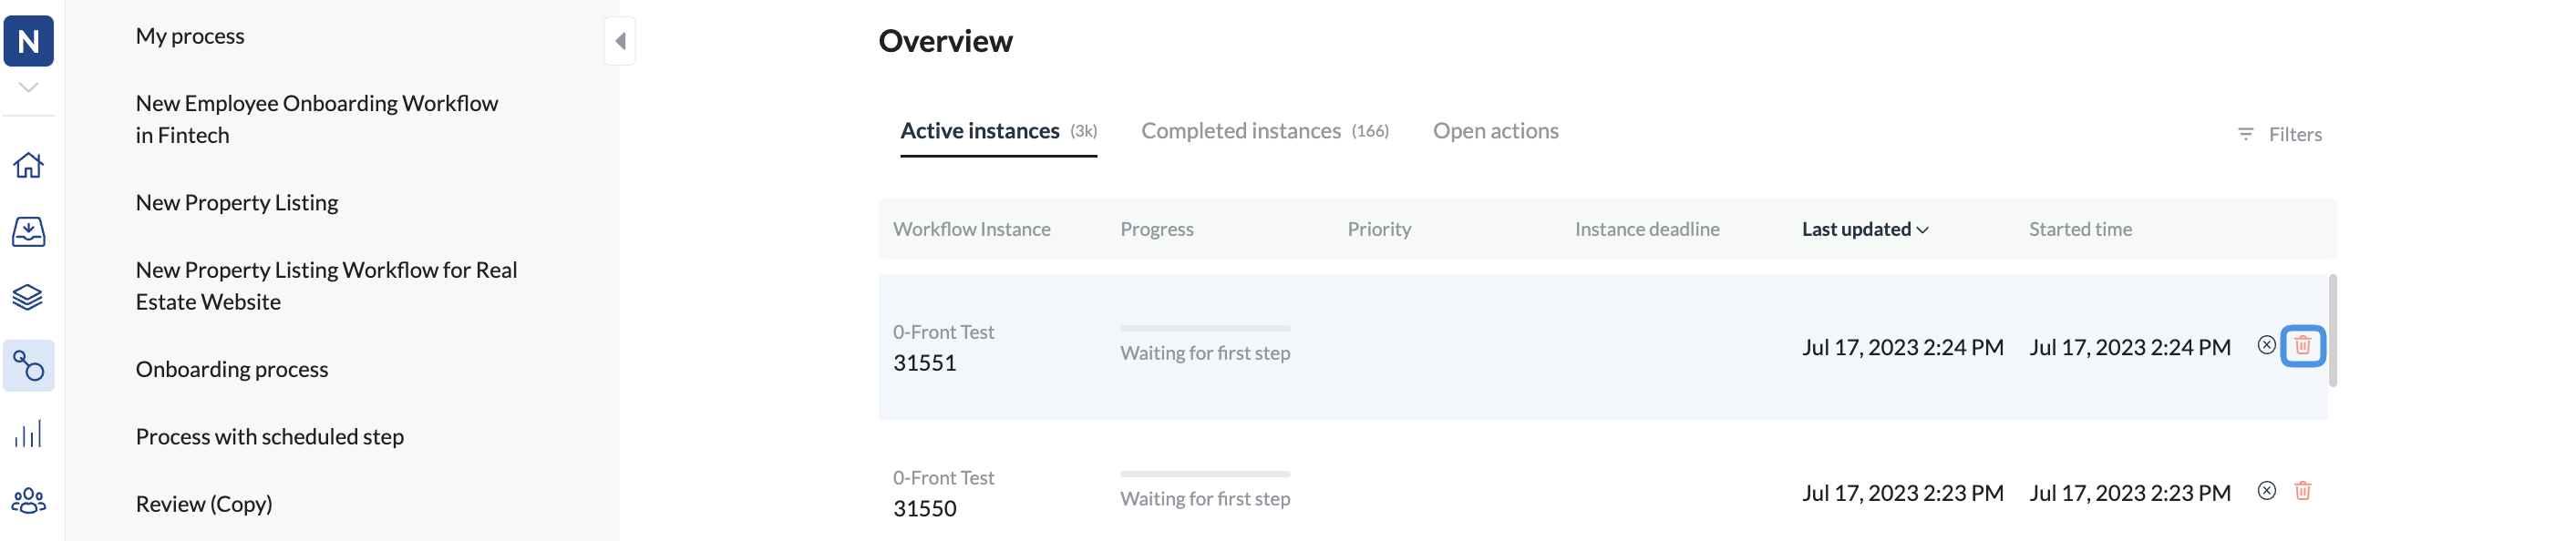
- In the main navigation, click Workflows.
- In the Overview, filter for the instance to delete.
- Click the delete icon for the instance you want to delete.
Work with workflow versions
Work with workflow versions
If you save your edits, any changes you apply to workflows or steps are in effect immediately. They are listed in the Changelog.That means it is not possible - as of today - to revert to a previous version of your workflow or to undo any accidental changes in steps and form fields.
Set deadline on a step
Set deadline on a step