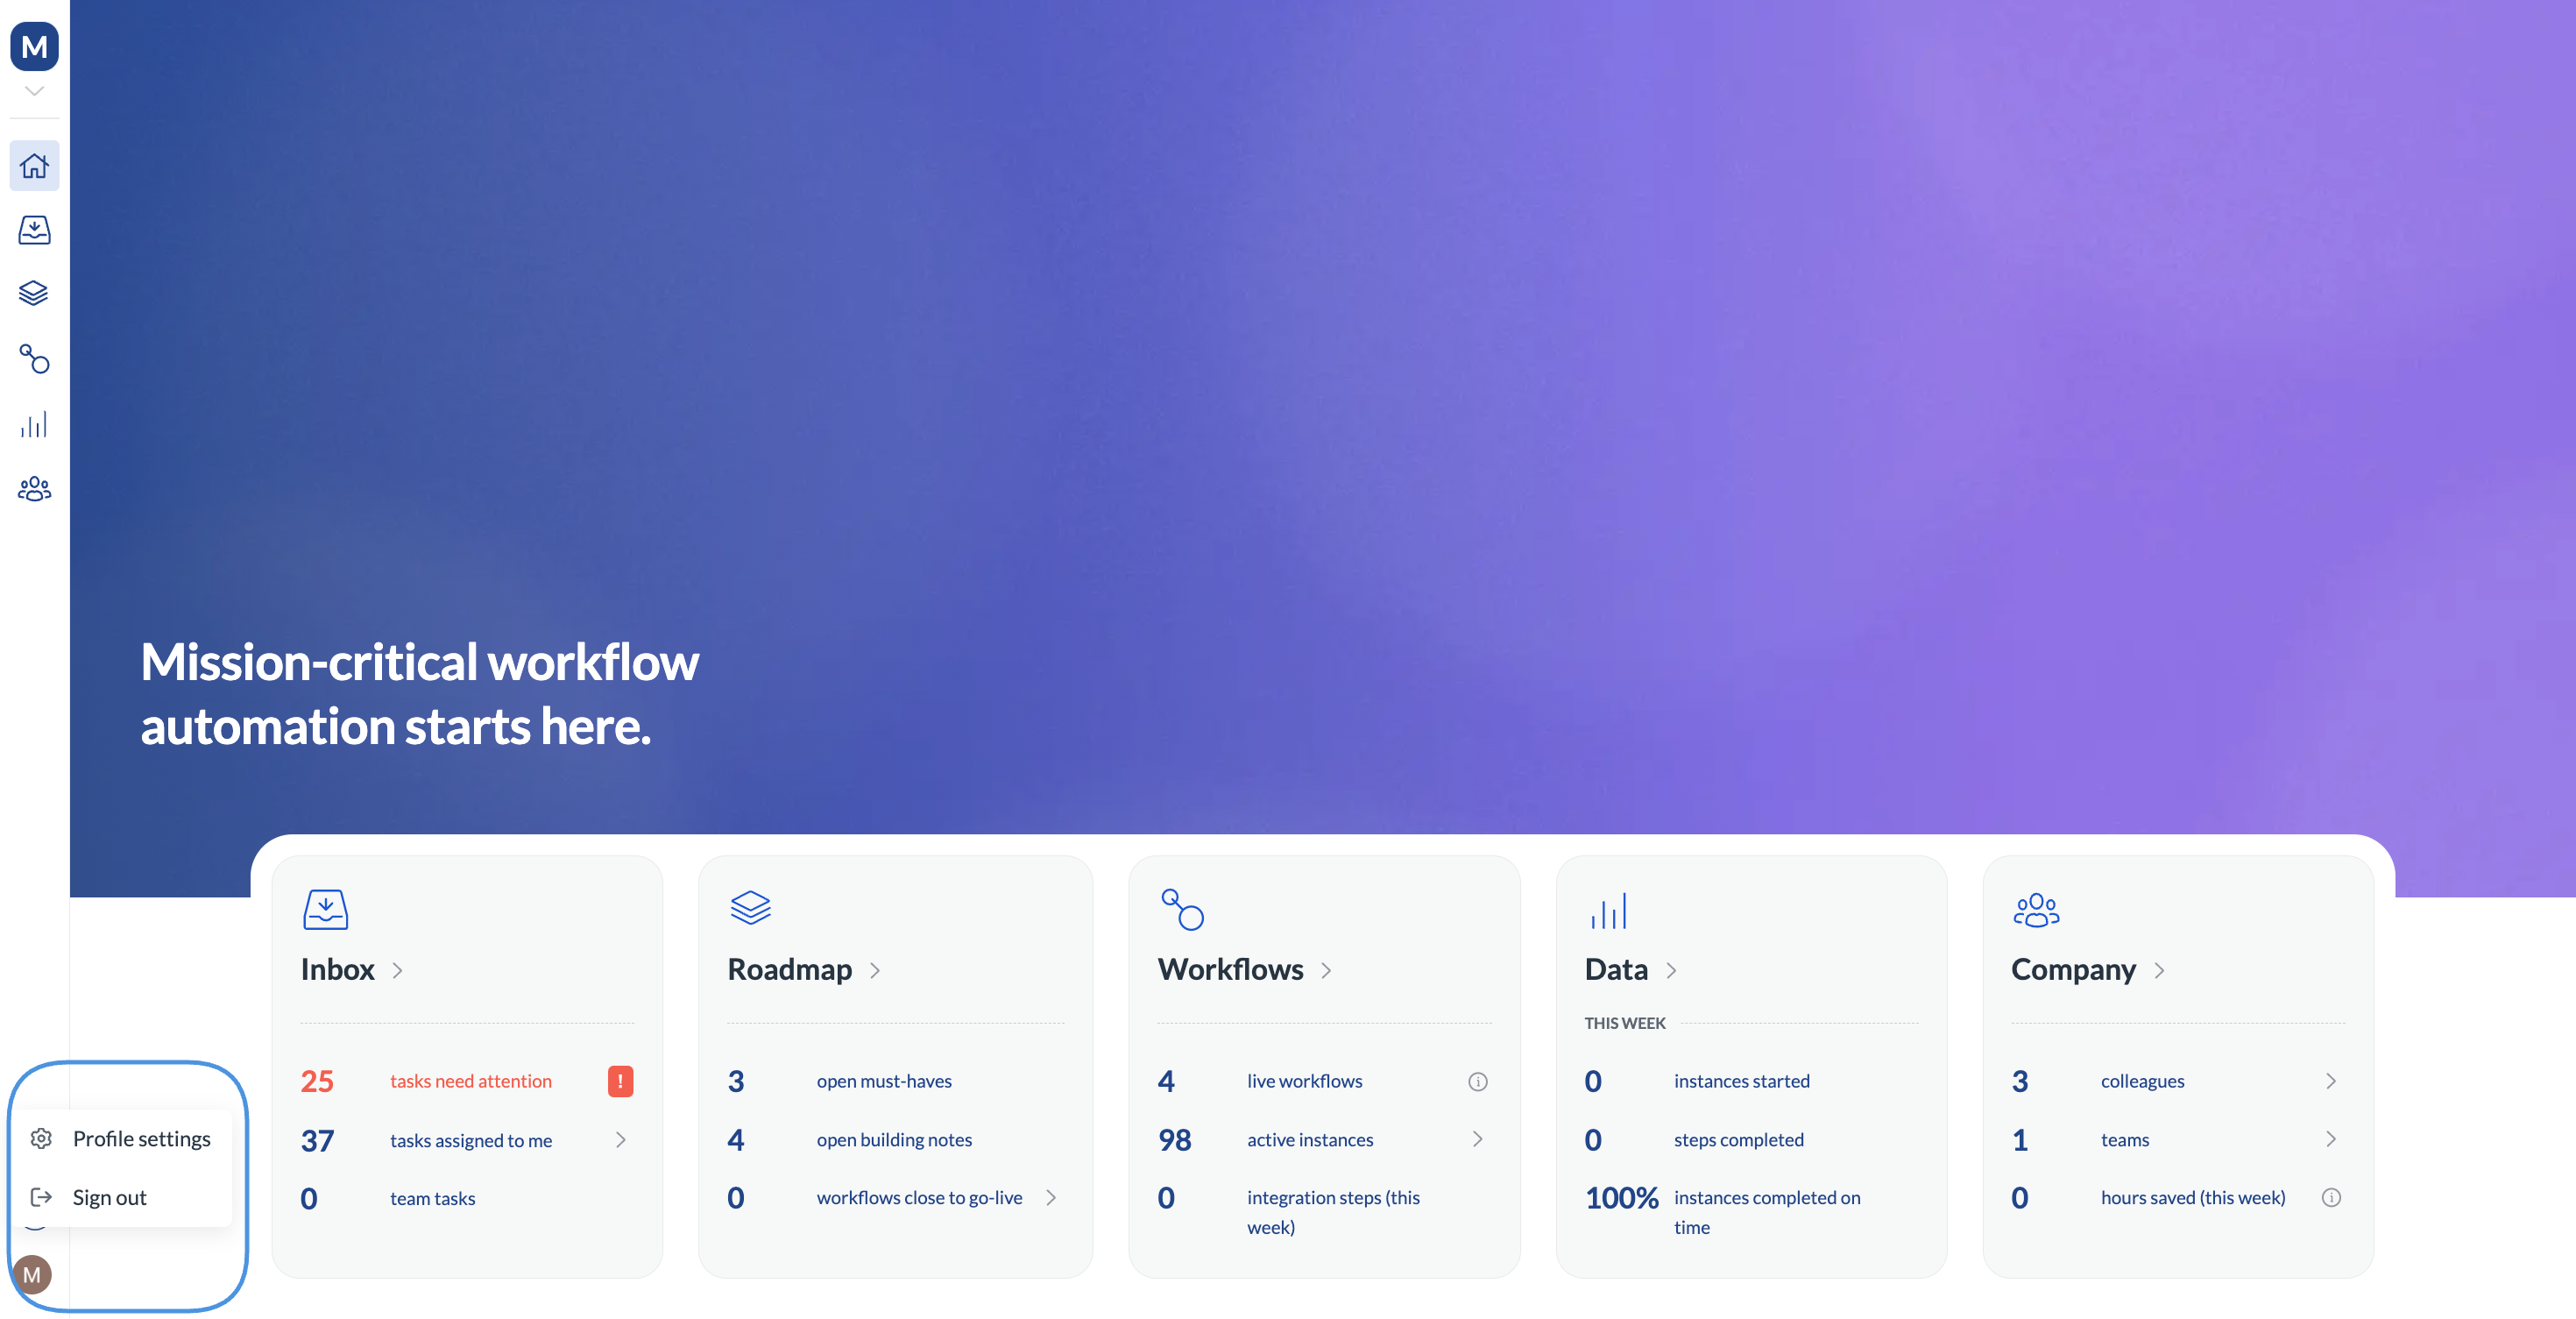
Update your profile picture
- To set or change your profile picture, in the profile settings click General.
- In the photo section, click Edit.
- Click Upload new photo.
- Select the picture you want to upload and click Open.
- Fit the picture to the window and click Use photo.
- Click Save changes.
If you decide to remove the picture, we’ll show the first letter of your username as the avatar.
Update your password
- To set or change your password, in the profile settings click General.
- Click Send link to set password.
- Check your email account inbox. We’ll send you an email to the email associated with your Next Matter account.
- Click the button in the email.
For security reasons, the reset link is valid for 3 days.
Set up notifications
Use the options available in the Profile settings > Notifications to set up your preferences. You can pick if you want to receive reservations by email, Slack, or both. If you pick Slack, you’ll receive direct messages. Note that Slack needs to first be set up by the admin for the entire company.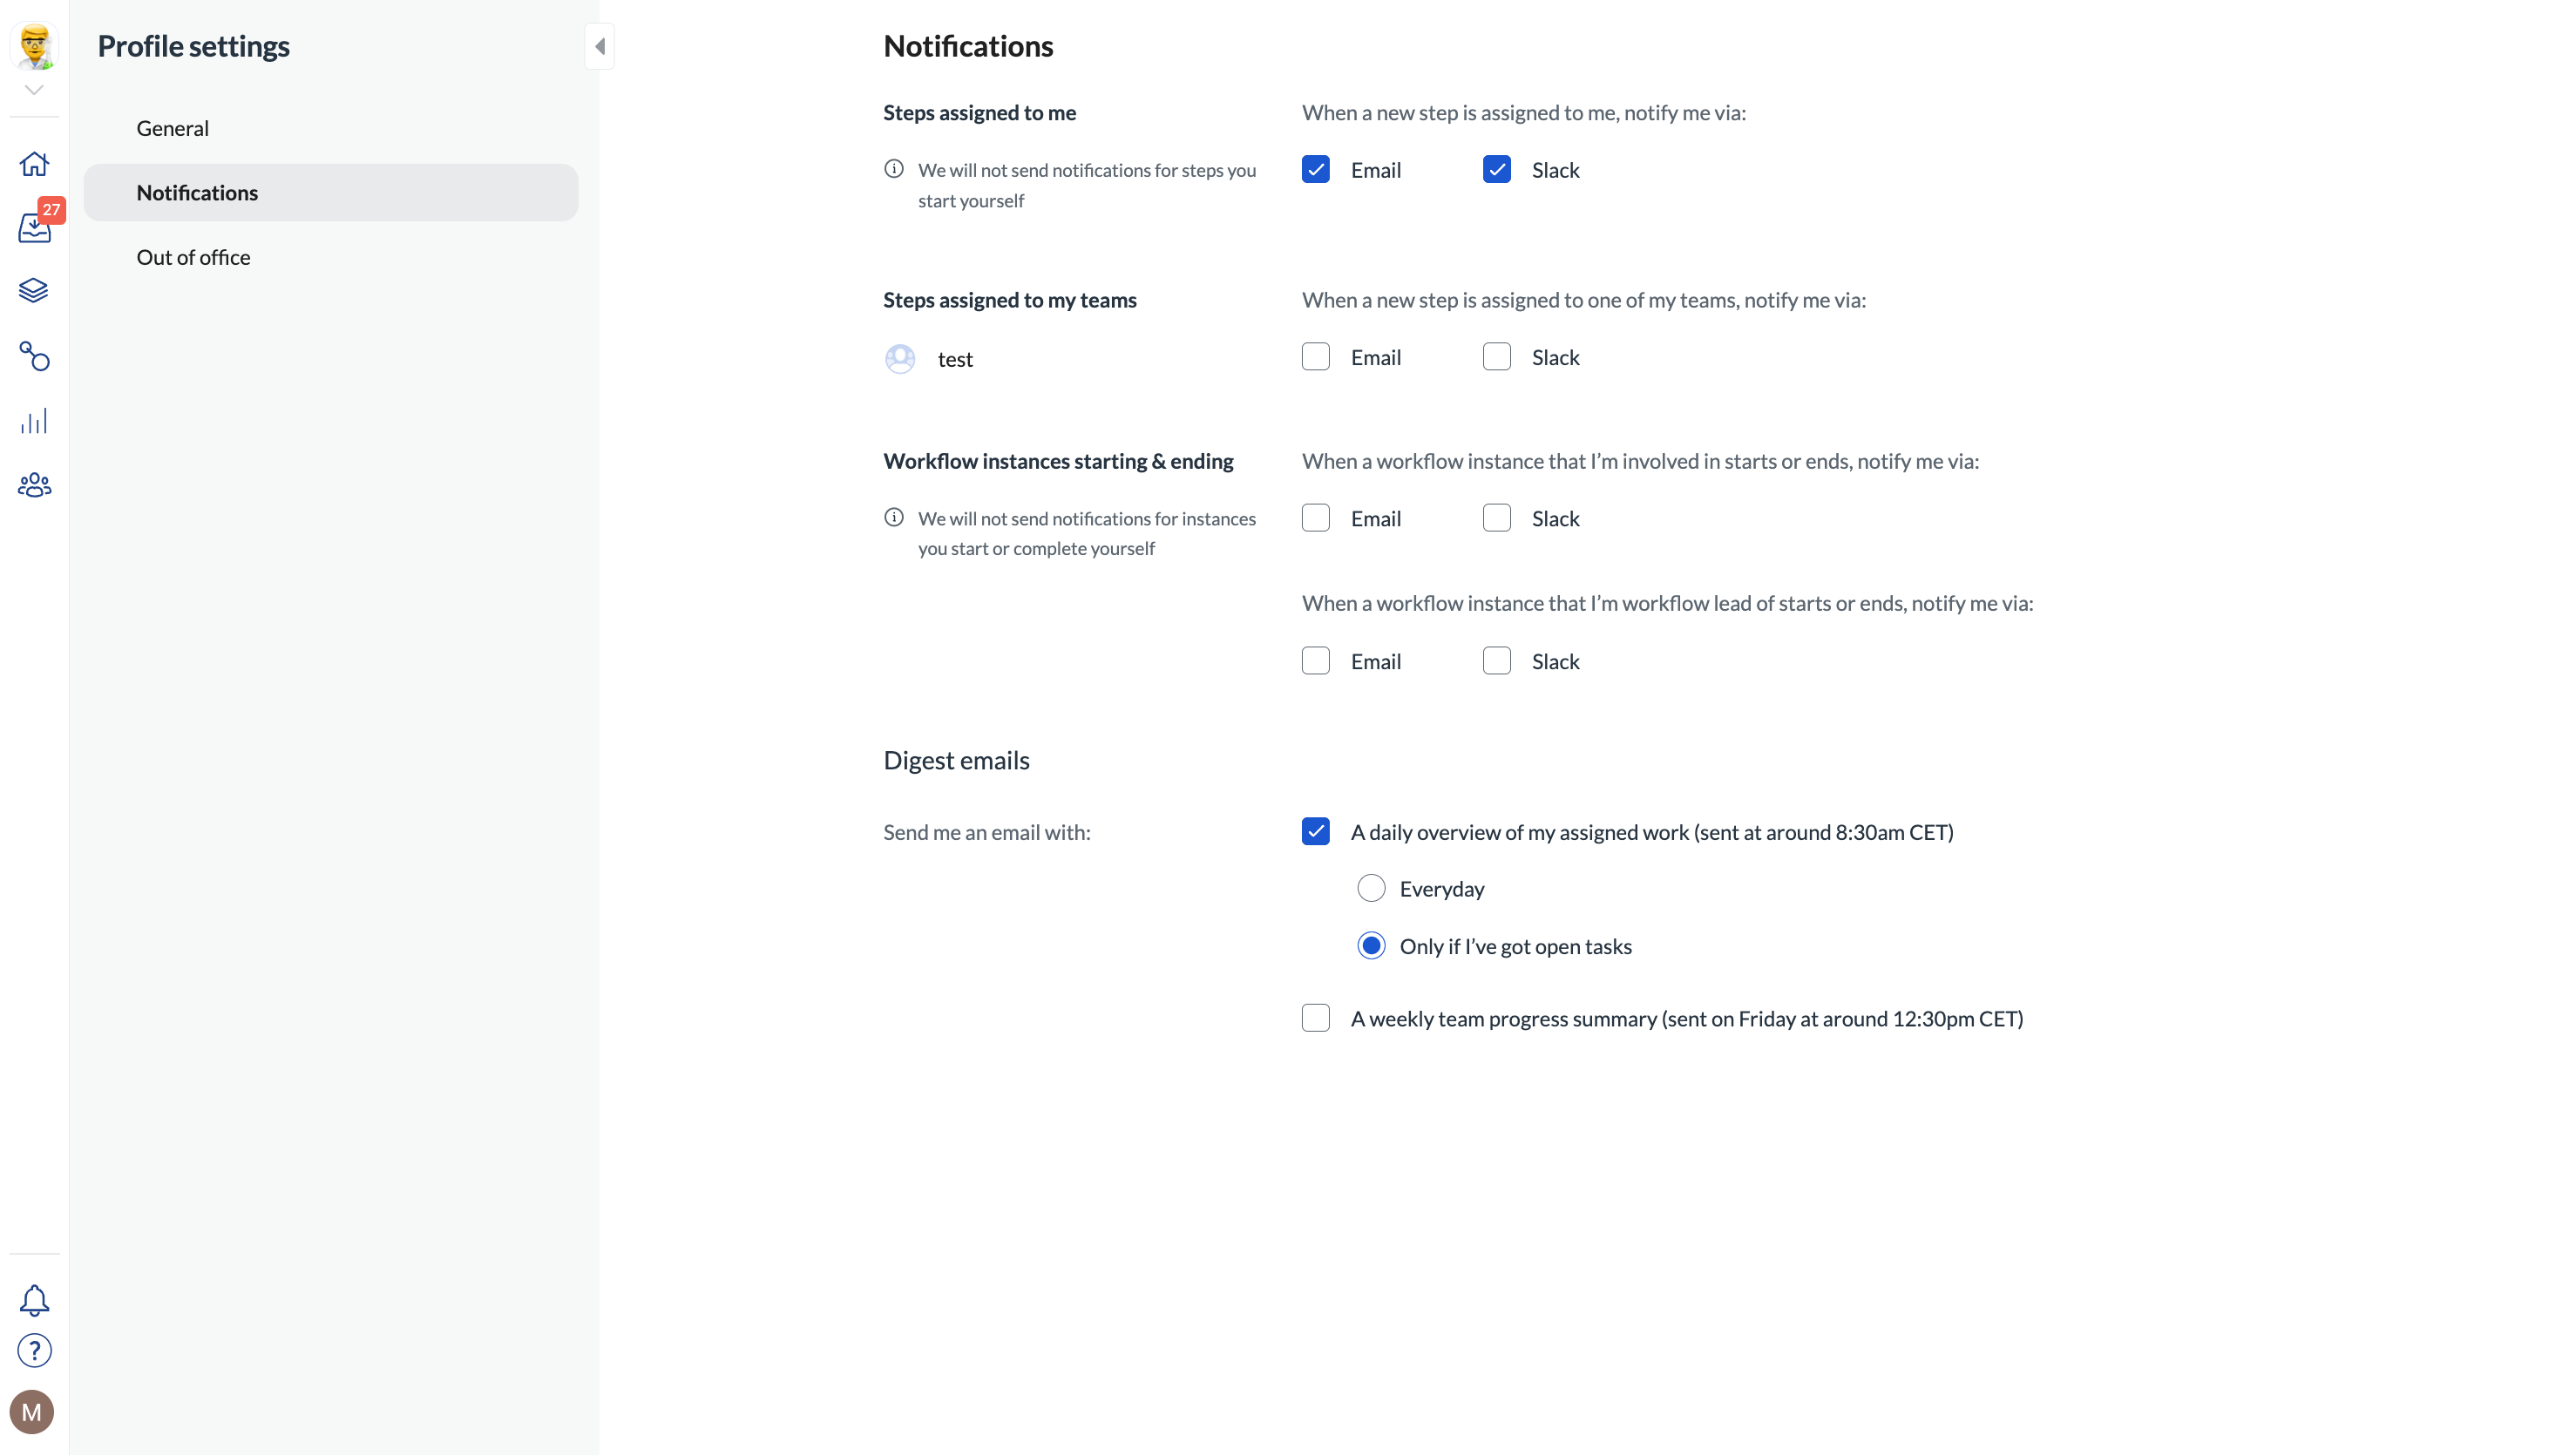
You cannot deactivate team notifications (information about tasks assigned to the team). If you want to disable notifications for all team members, contact our Support Team.
Set up out of office notifications
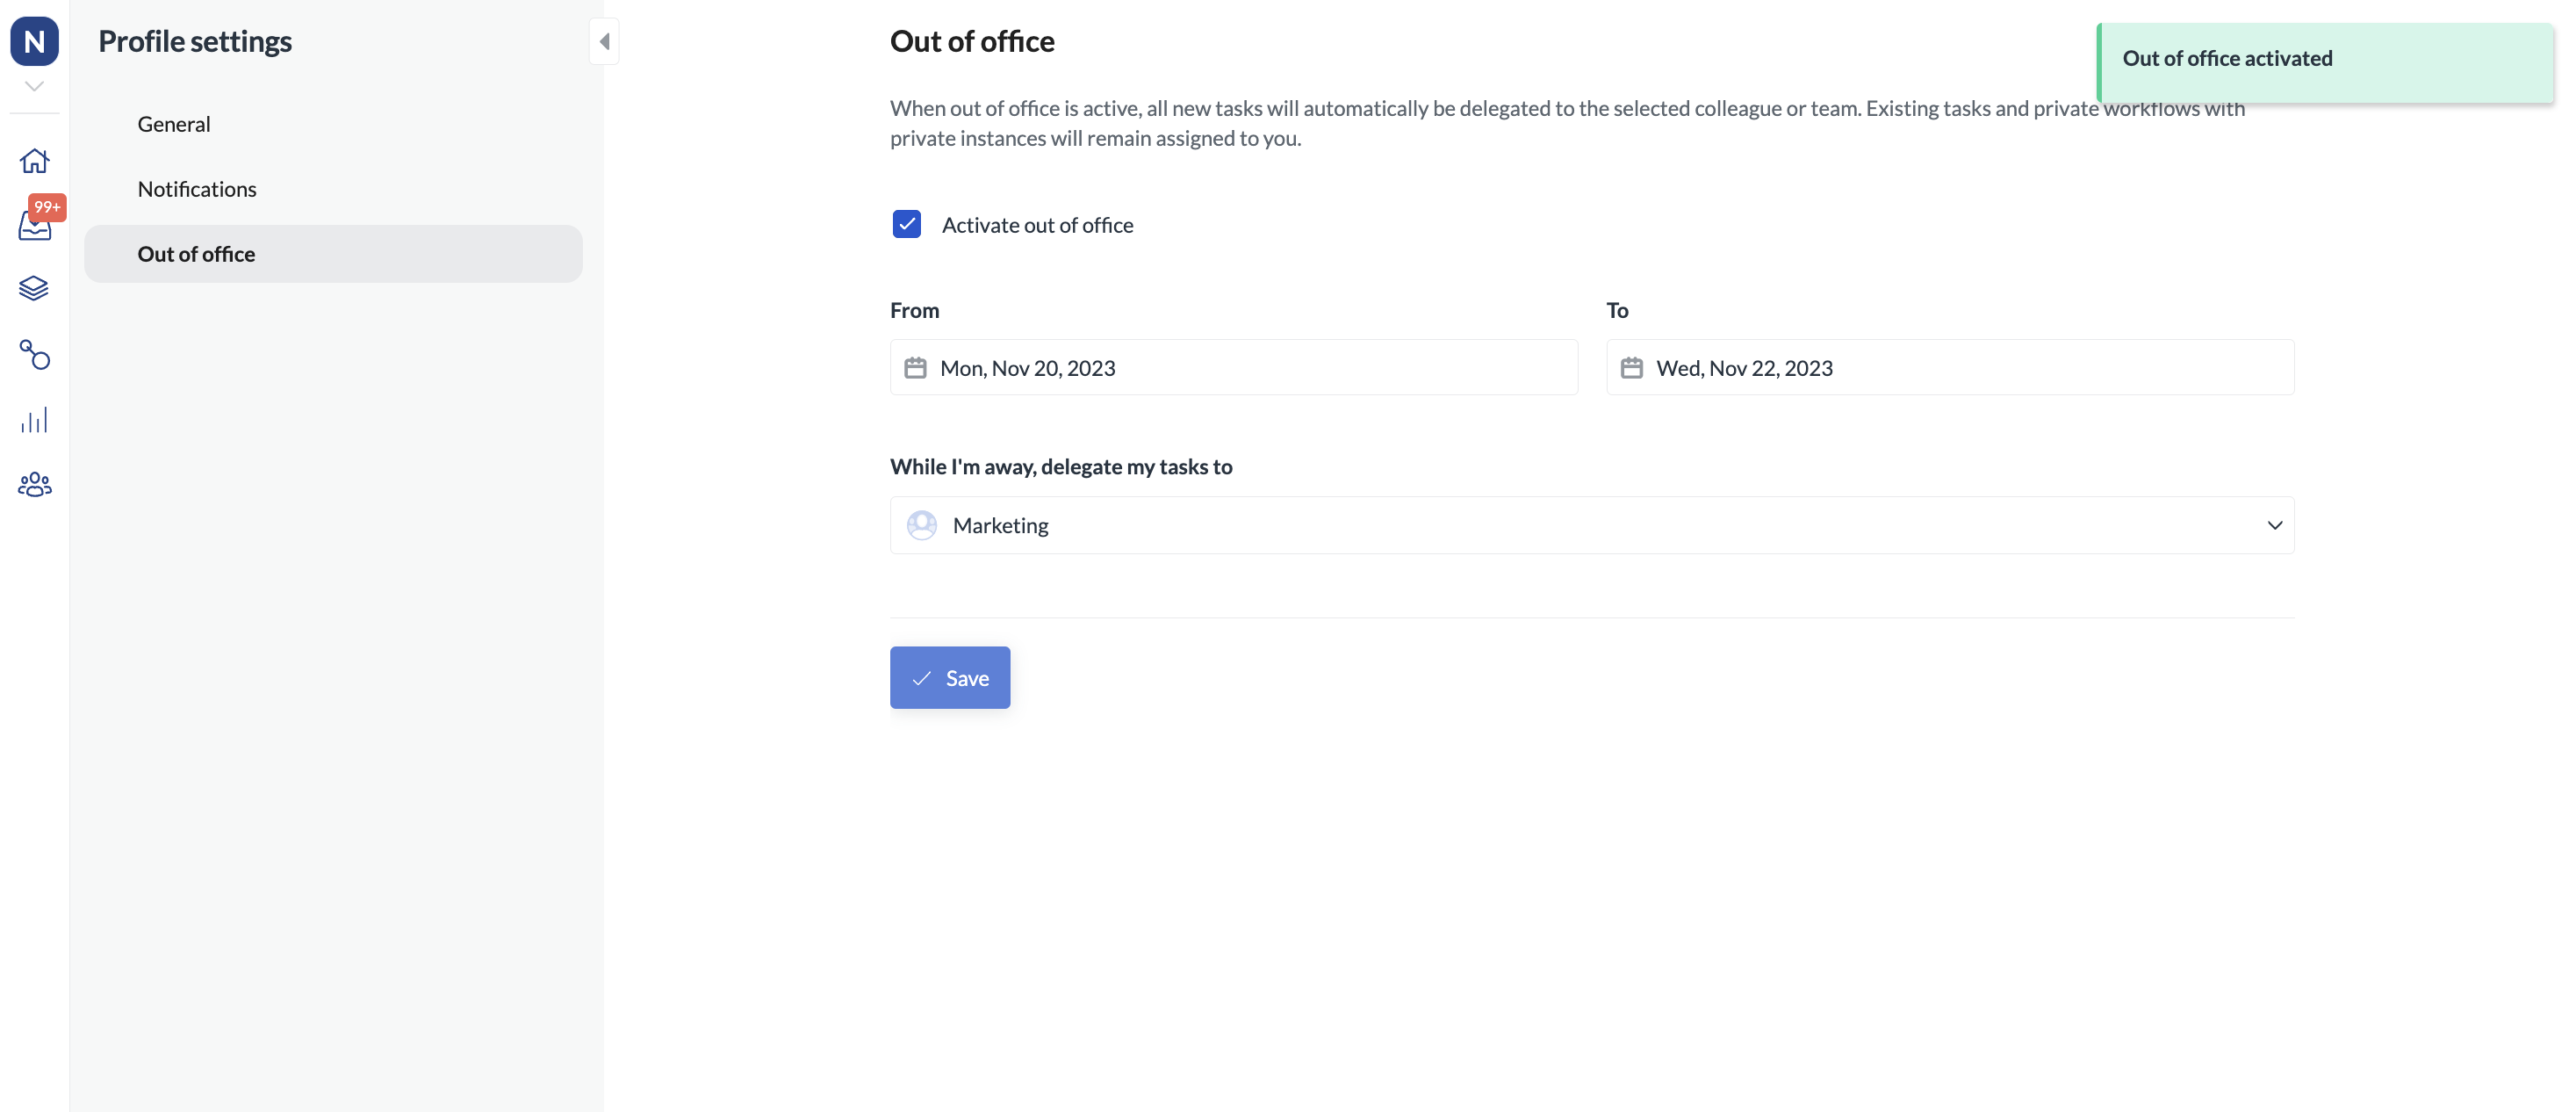
Note that the setting only works for public workflows and instances.- In the profile settings click Out of office.
- Select Activate out of office.
- Specify the start and the end date for the out-of-office. The end date is the last day you are away and unavailable.
- Select your stand-in. If someone assigns a task to you in your absence, the task will get delegated to the selected stand-in on step activation. The stand-in can be a specific person or a team.
- Click Save.
Important considerations
-
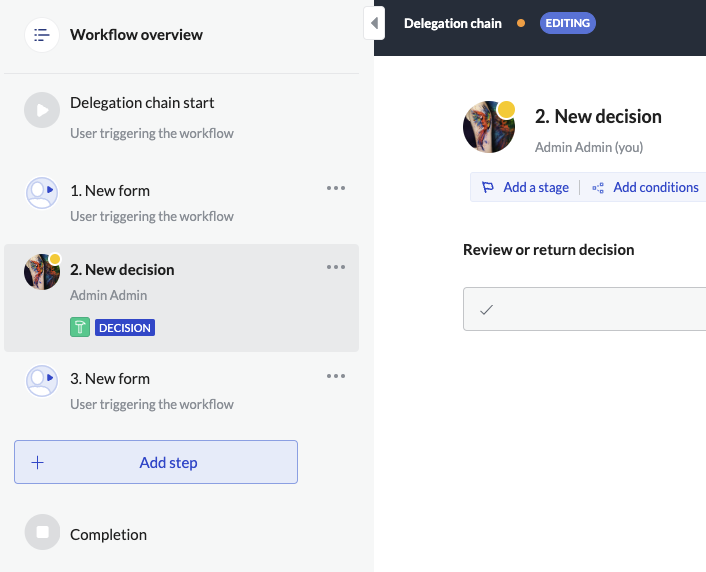
Delegation won’t work when the workflow and the instances are private or the workflow is public but the instances are private - if the stand-in doesn’t have access to the workflows and instances, they won’t be able to complete the steps. In such cases, the workflow lead or the admin can manually delegate the task to the stand-in.
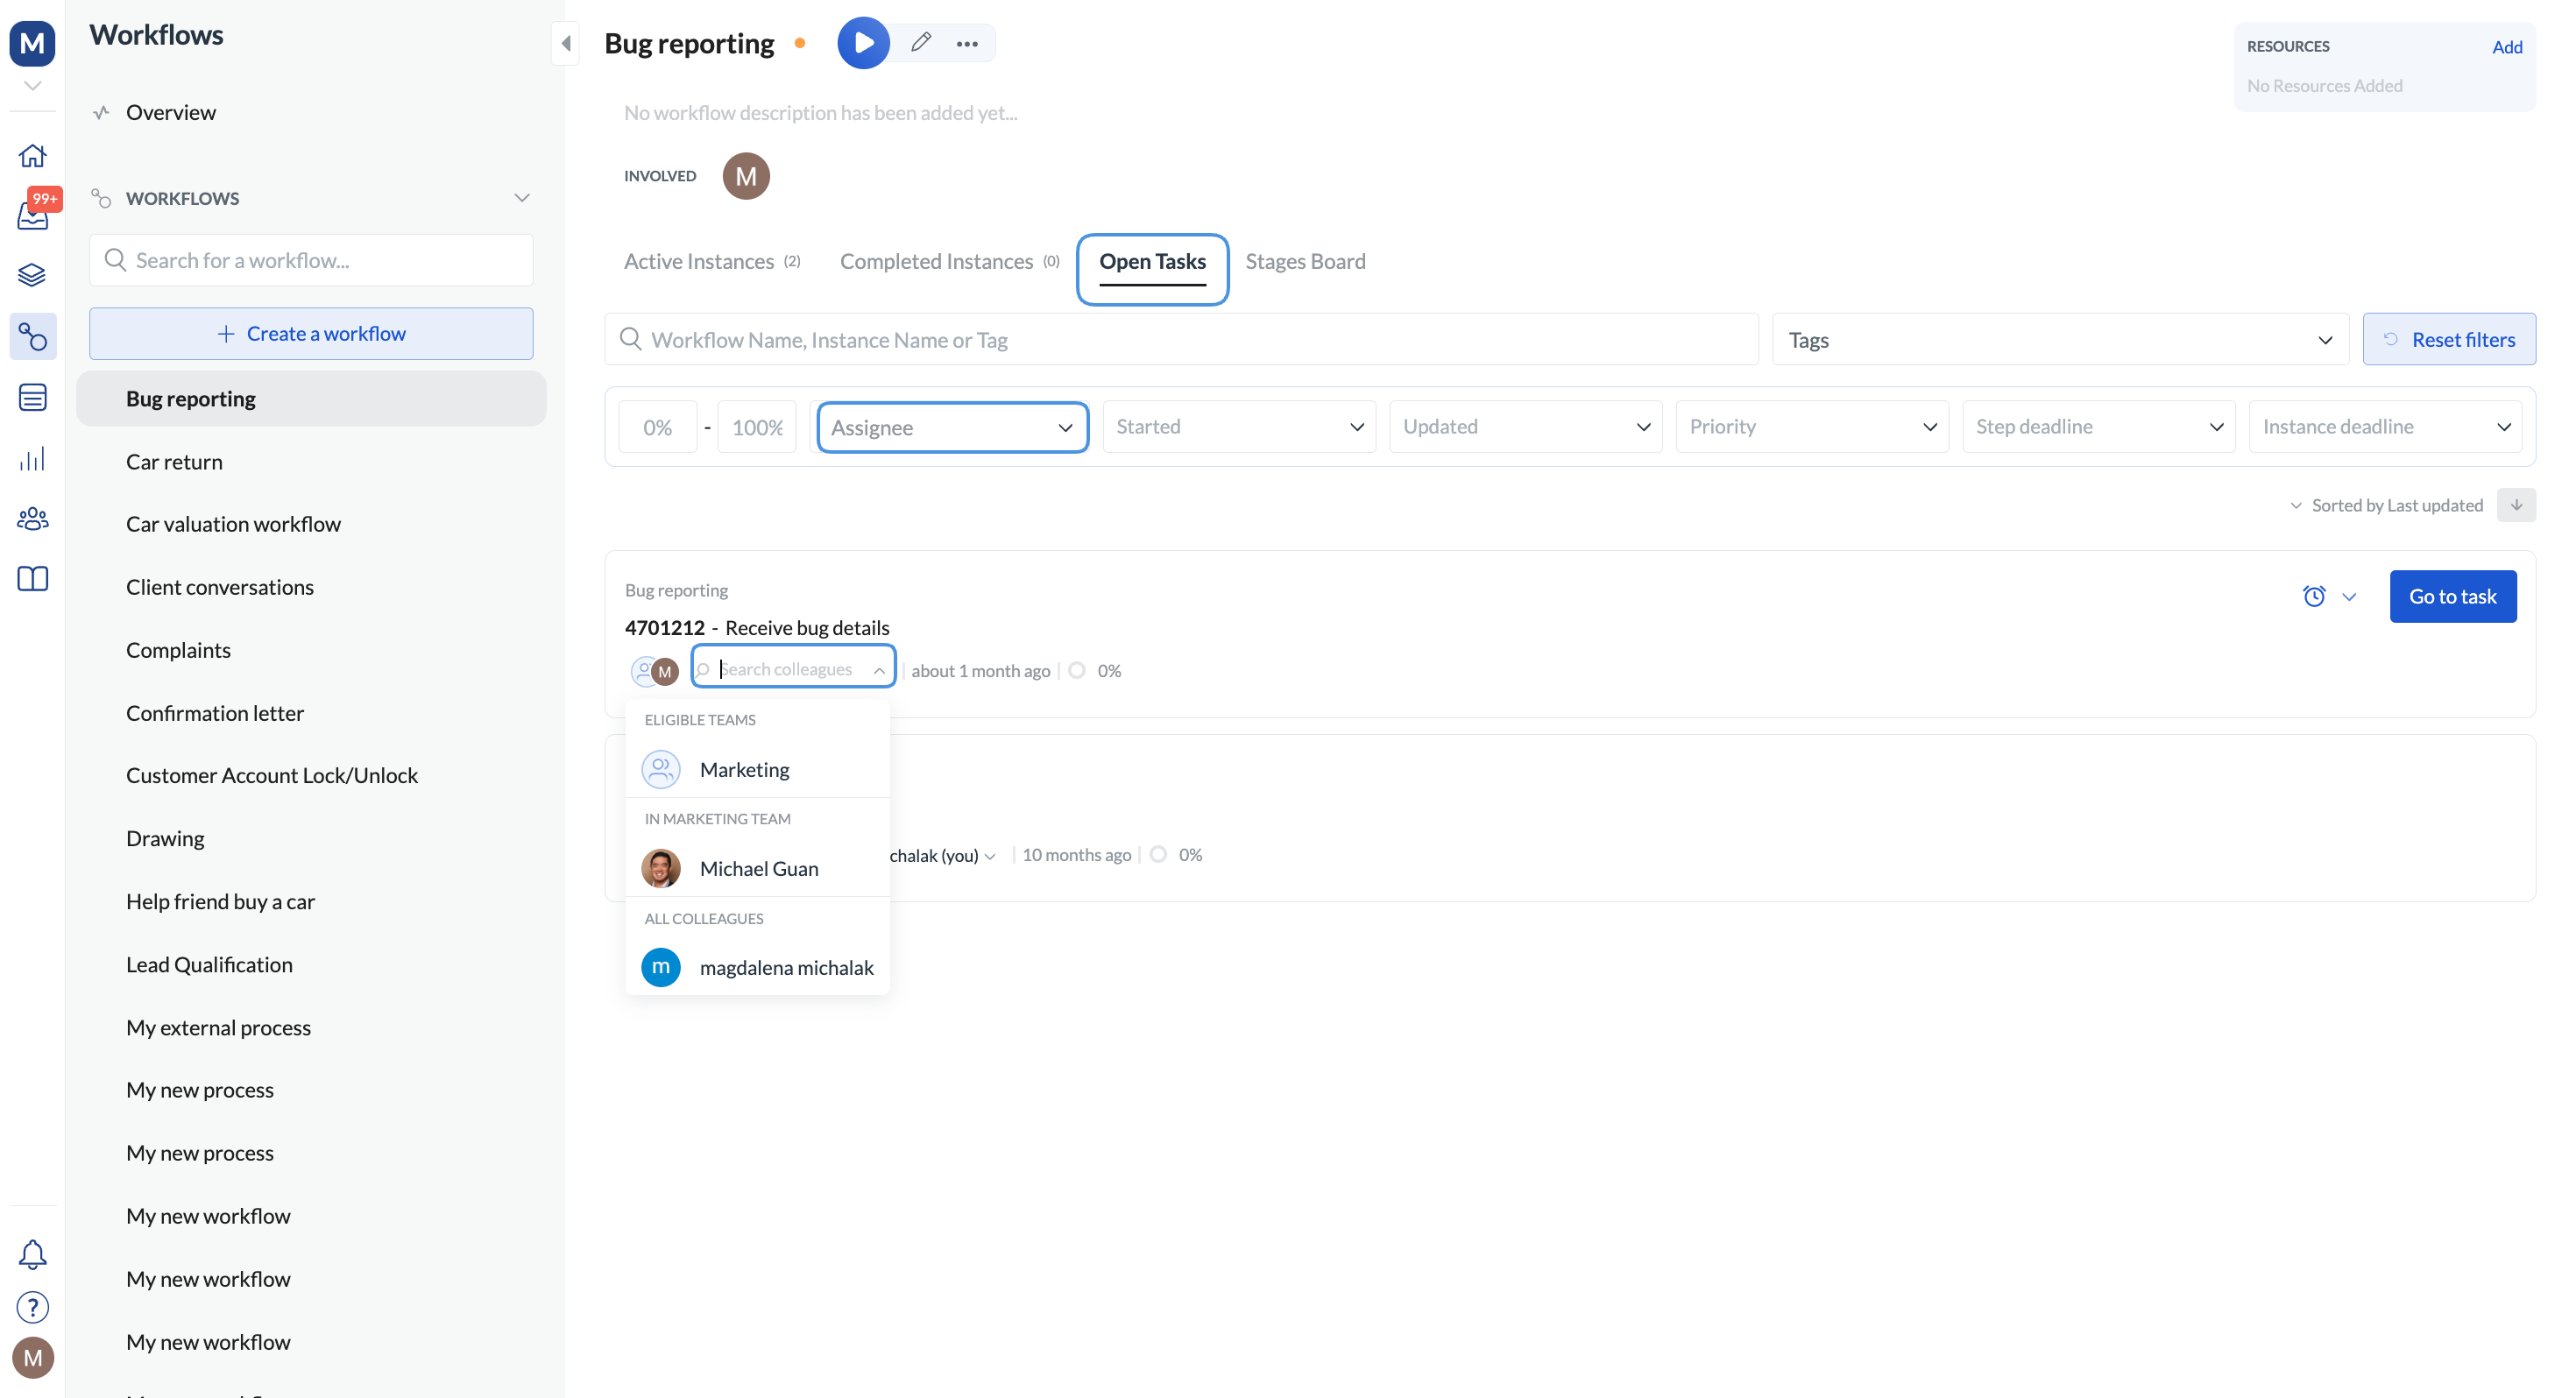
- Go to Workflow overview > Open tasks.
- Click Filters and filter by Assignee to find the current assignee.
- Select the user from the dropdown to delegate the task to.
-
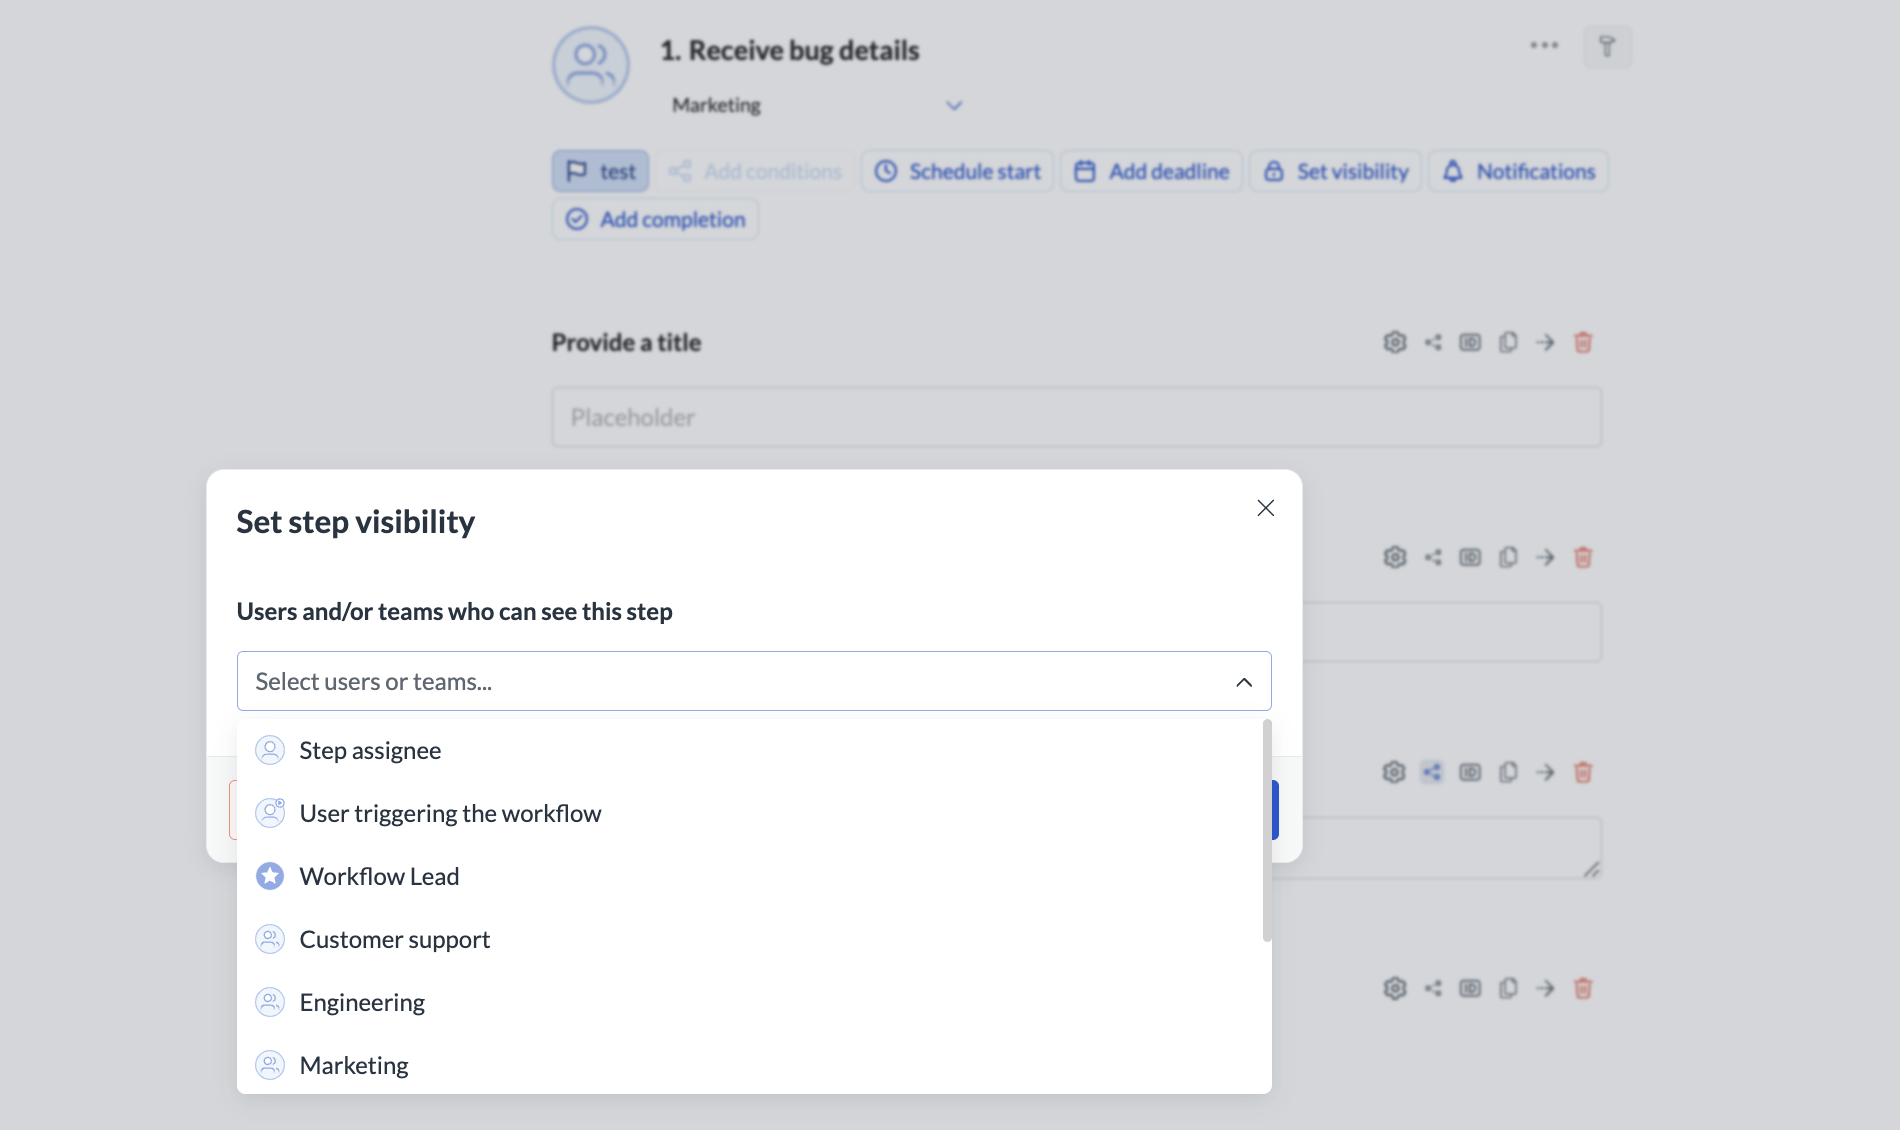
If the step is restricted, and the stand-in is not included in the visibility settings, they won’t be able to access or see the delegated task. To prevent these situations, it’s a good idea to restrict the visibility to a team rather than individuals. Then anyone from the team can be a stand-in, and complete restricted steps if need be. This way all the people you add to the team will automatically have access, and those that leave the team - won’t.
- Only new instance steps get delegated. The existing steps that are already in the assignee’s inbox won’t be re-assigned by the OOO settings.
- You can delegate to all users irrespective of their roles. For example, you can delegate to light users.

