Before you begin
In this task, you’ll need the ID of the step you’ll be sending the data to (in the follow-up workflow) and the ID of the form field to be filled by the data from the previous step. Where is the step ID- In your left-hand navigation, click the Workflows icon.
- Hover over the follow-up workflow and click on the menu icon.
- Click Edit workflow.
- Click the step to which you’d like to send data.
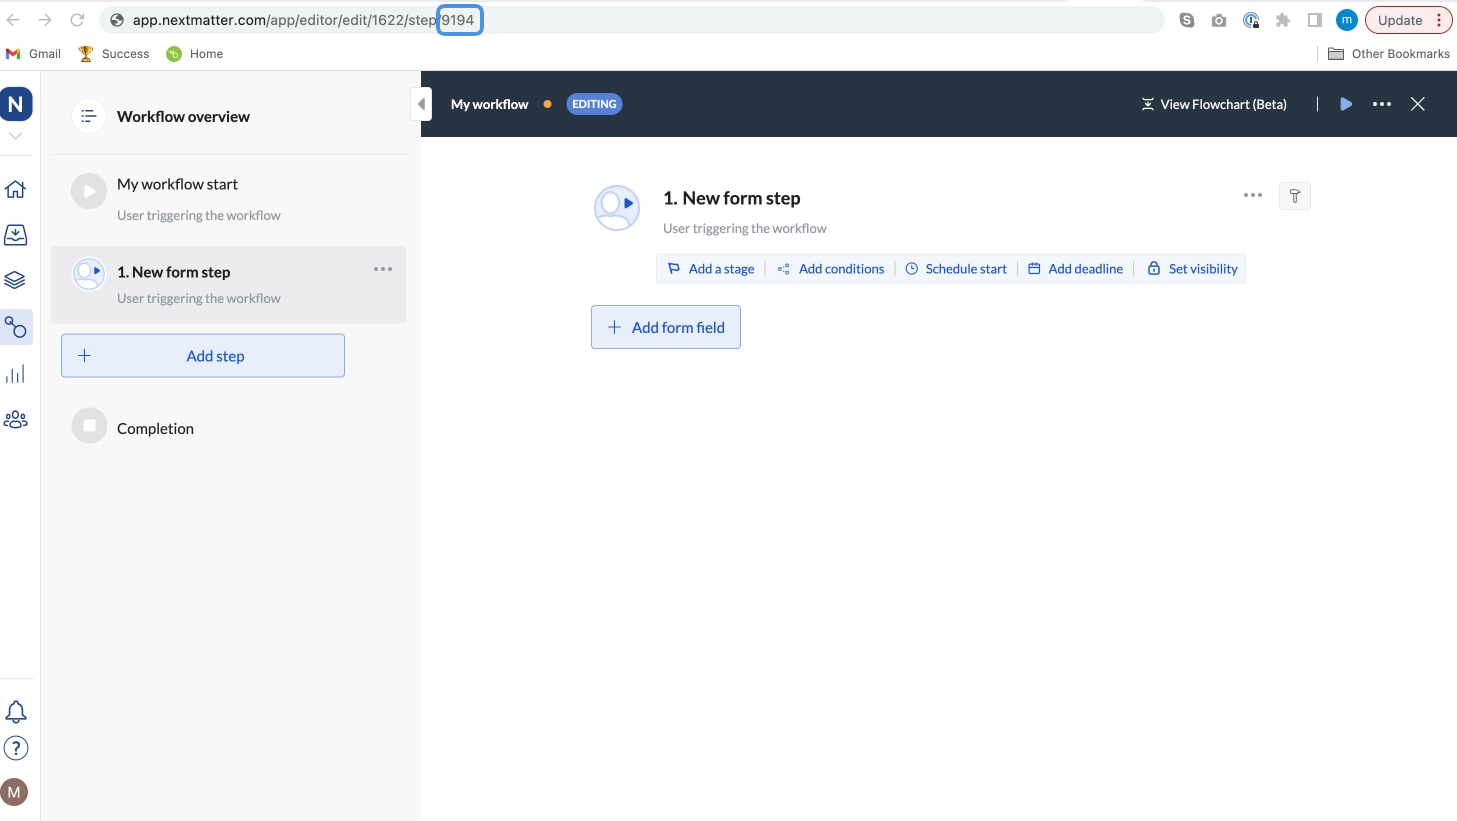
- Copy the step ID. It’s the last number in the URL you see in your browser.
Where is the form field ID
Where is the form field ID
- In your left-hand navigation, click the Workflows icon.
- Hover over the follow-up workflow and click on the menu icon.
- Click Edit workflow.
- Click the step to which you’d like to send data.
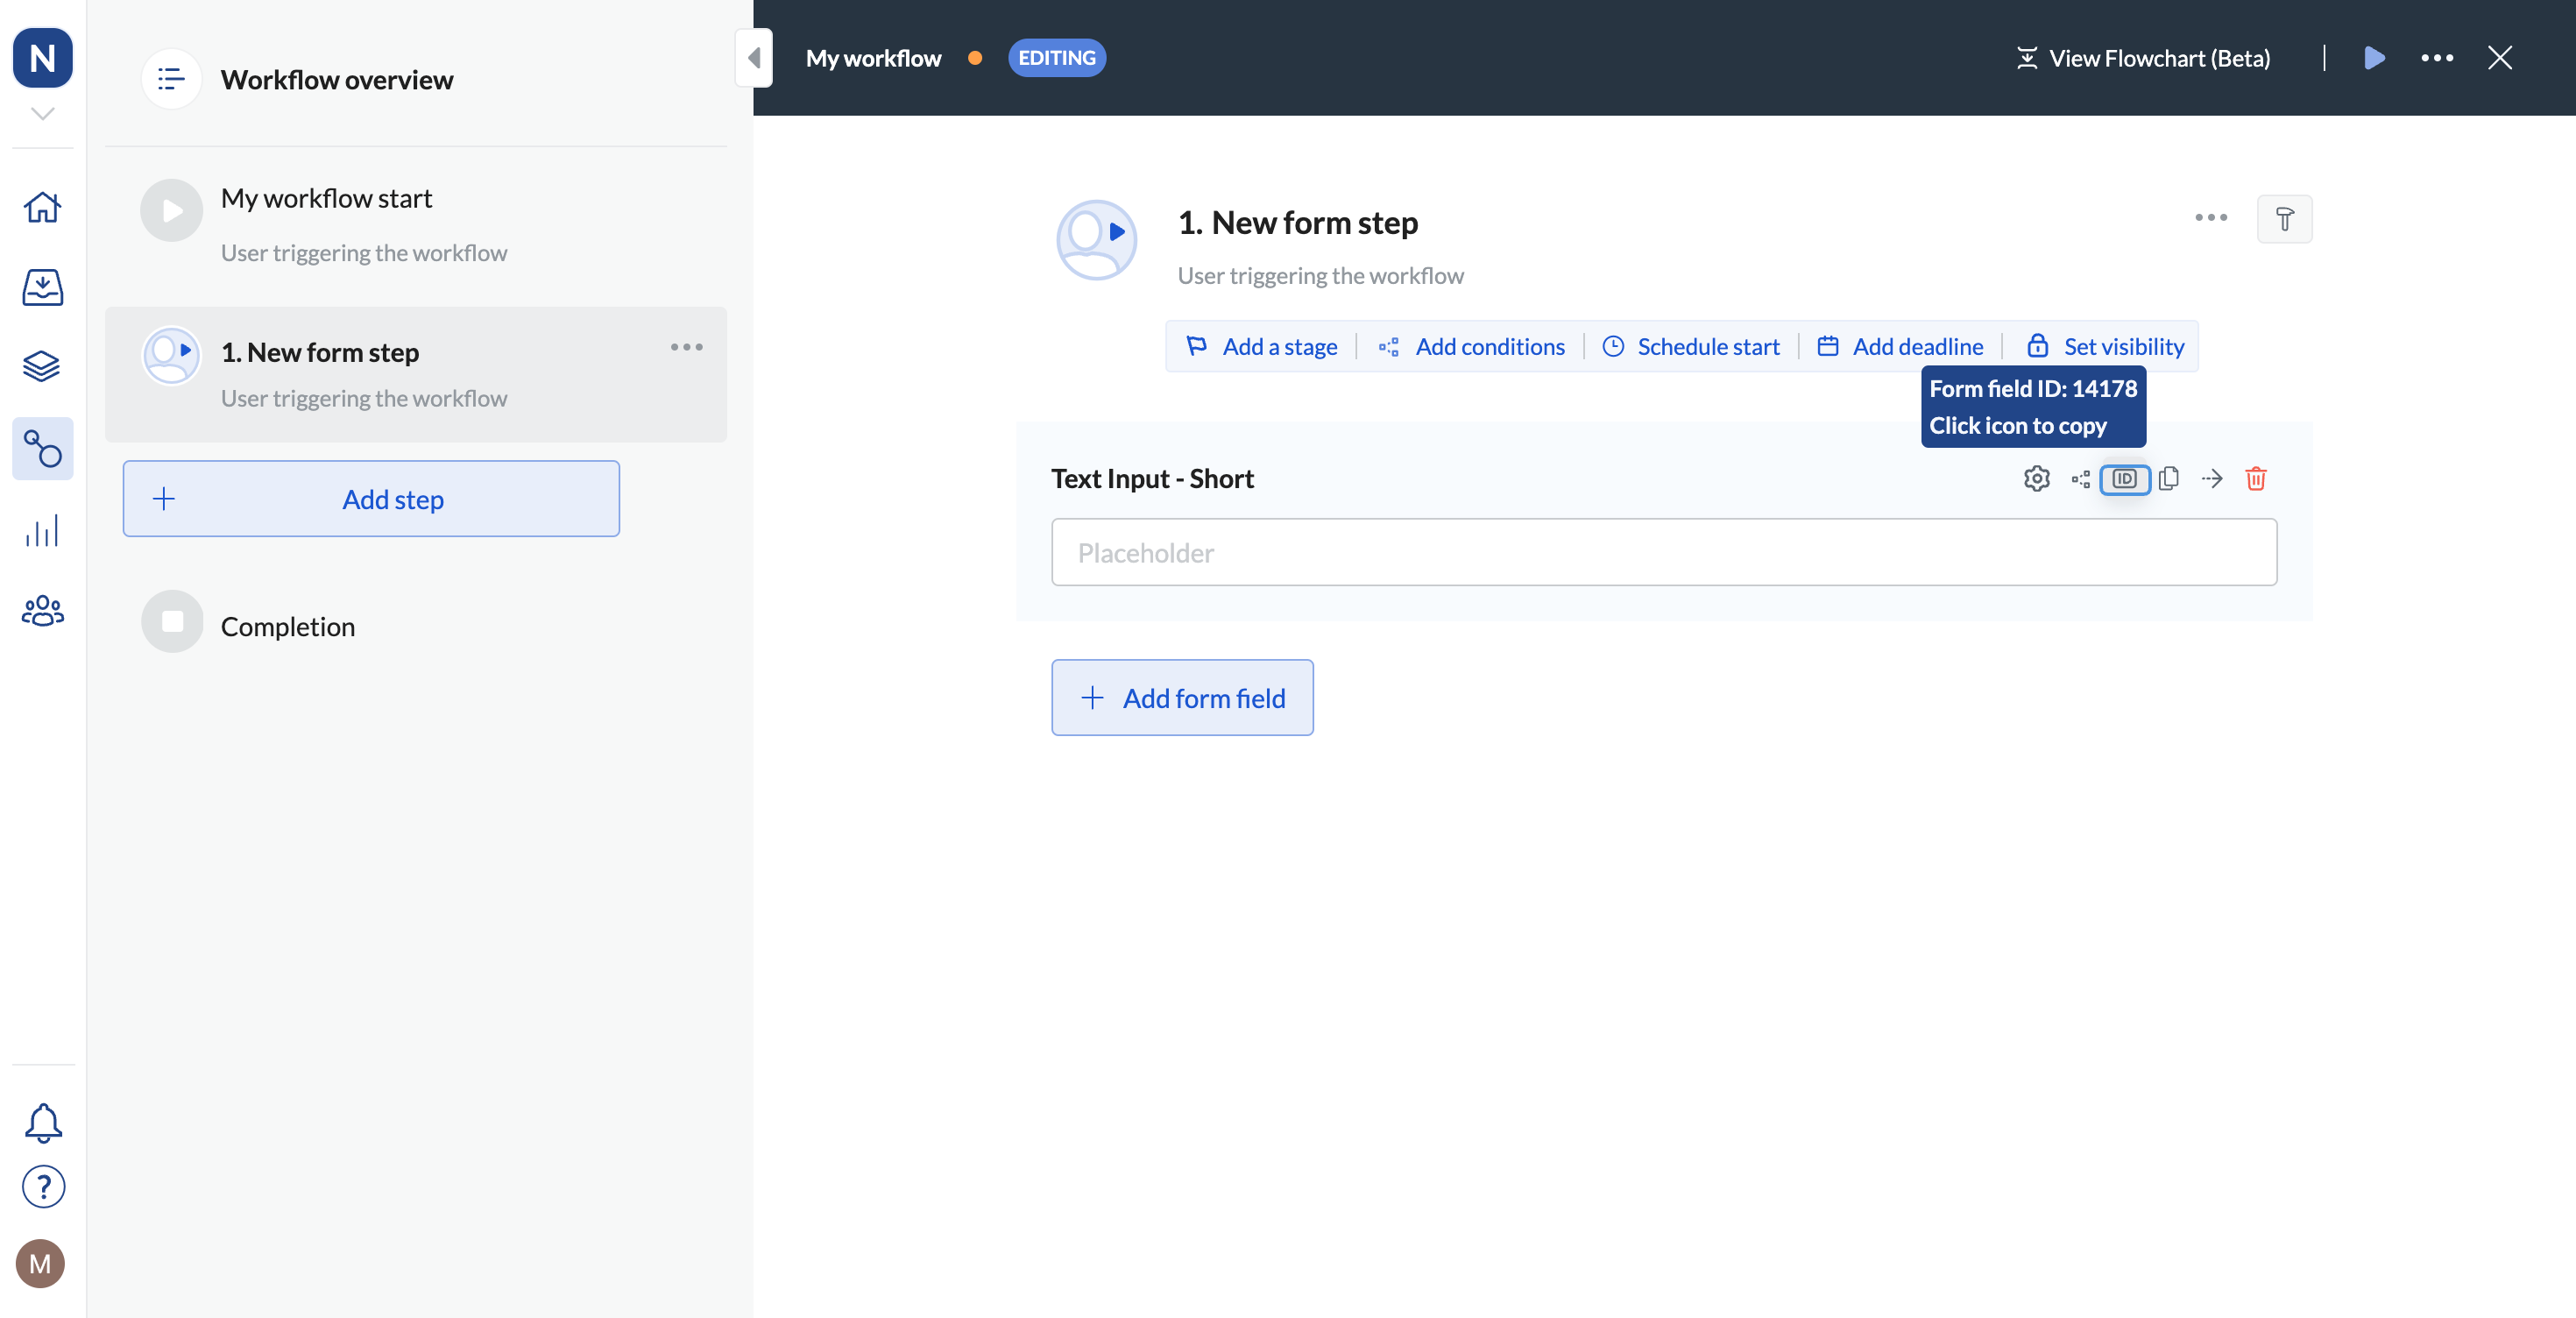
- Click the ID icon for the field to which you want to copy data.
- Copy Form field ID.
Send the data
- Click the first process that should trigger the follow-up workflow.
- Click … and select Edit workflow.
- Click the Send Data step that’s been automatically added when you selected the Launch workflow automatically template. If you need information on selecting this template, see Start a follow-up workflow.
- Click the Settings cog icon.
- In the Headers section of Settings, enter your Api-Key. Note that you need the phrase Api-Key to go before the code in the field.
- Select Raw as Body type.
-
Edit Body as follows: a) Delete the STEP_ID and ACTION_ID, and replace them with the numbers you copied from the URLs. b) Delete the ADD_YOUR_OWN_DATA and click . c) Select the type of data to fill in in the follow-up workflow. You need to tell the system what type of data belongs to which field.
Note: You need to select ALL the fields that have been marked as Required in the follow-up workflow. For example, if you decide to fill in the data only in one required field, the whole Send Data step will fail.If you have two required fields in the follow-up workflow, this is what your Body might look like:
How do I know a step is required
- In the left-hand navigation, click the Workflows icon.
- Hover over a process.
- Click Edit workflow.
- Click a step in the workflow.
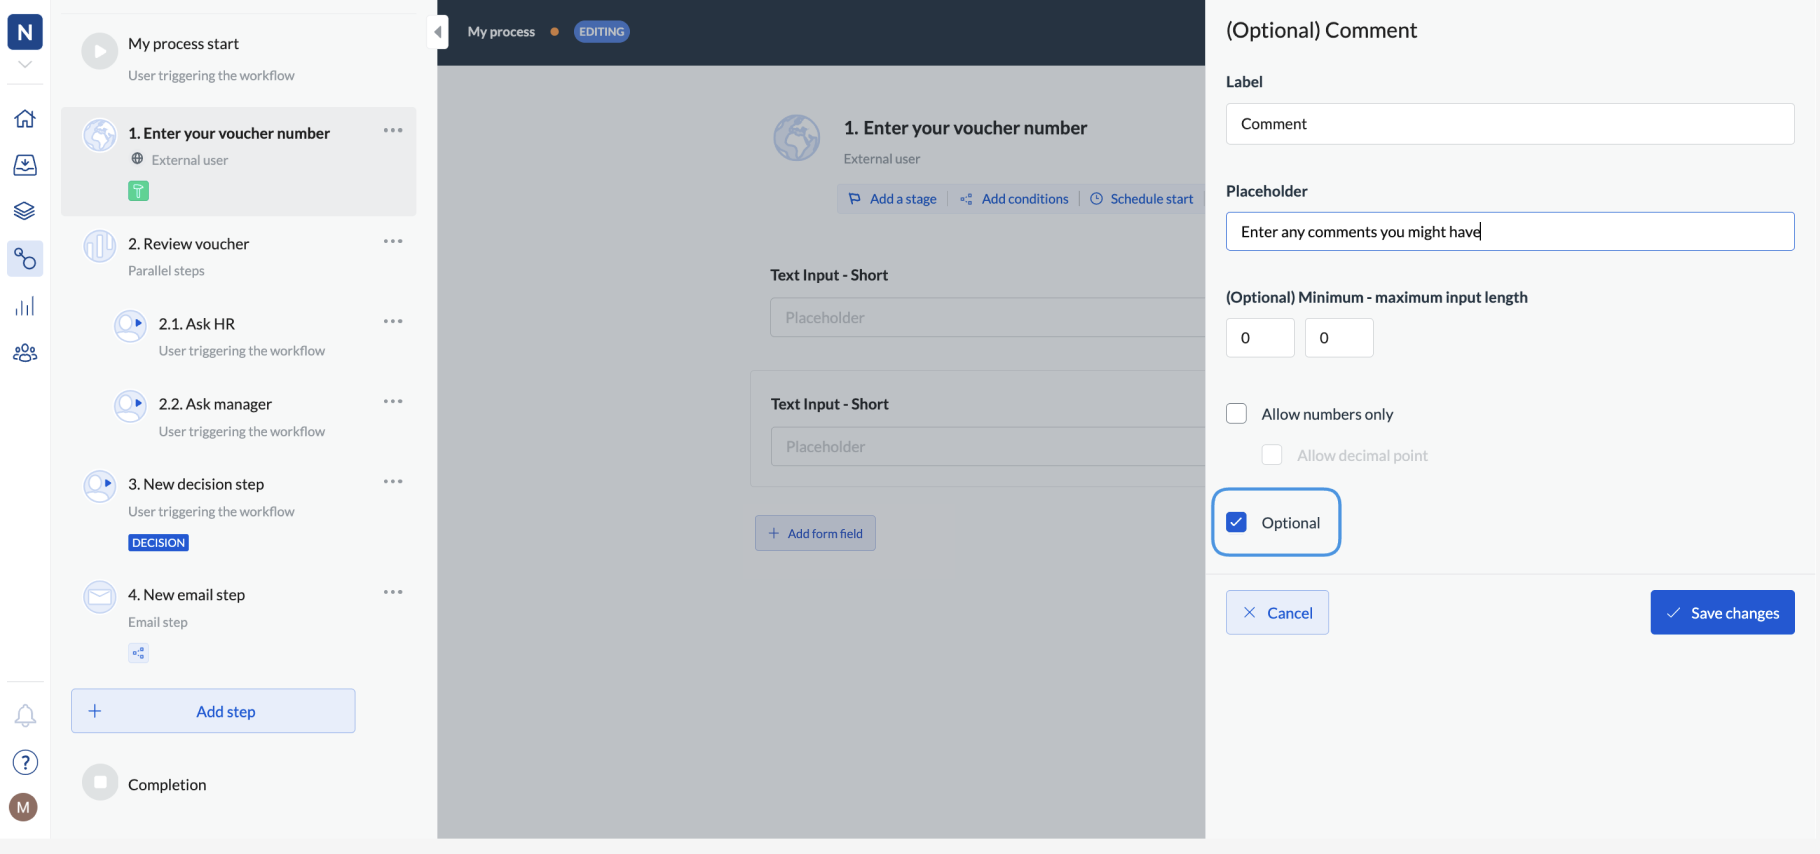
- Click the Settings cog icon.
- Verify whether the Optional box has been selected. If not, the field is required.
- Decide what should happen if the step fails (On Failure).
- Save your changes.