> ## Documentation Index
> Fetch the complete documentation index at: https://help.nextmatter.com/llms.txt
> Use this file to discover all available pages before exploring further.
# Integrate with Azure Event Hubs
> Exchange data with 3rd party services using Azure Event Hubs.
## Authentication
Azure Event Hubs doesn't use OAuth 2.0 scopes like Microsoft Graph API. Instead, authentication is handled through Shared Access Policy.
## Before you begin
### Connect your hub
1. Log in to Next Matter with an admin account.
2. In **Automations Library** \[left-hand navigation panel], click **Connect** on the Azure Event Hubs tile.
3. Paste your Connection string for a specific event hub from your Azure Portal.
1) Open your **Azure Portal**.
2) Navigate to **Event Hubs** and select your **Event Hub Namespace**. This should be the namespace where the event hub you'll use with Next Matter resides.
3) In the left-hand menu, click **Settings > Shared access policies**.
4) If the policy hasn't been created for this event hub, click **+ Add**, give the namespace a name, and select the **Listen** and **Send** policies.
5) Click **Create**.
6) Click the policy to open it and copy the **Primary connection string**.\
It should look like the following:
```
Endpoint=sb://.servicebus.windows.net/;SharedAccessKeyName=;SharedAccessKey=
```
Make sure you're at the Namespace level, not inside a specific Event Hub instance.
### Create a consumer group for Next Matter listener
A consumer group specifies the listener that should receive the data from an event.
1. In your Azure Portal.
2. In the search bar at the top, type Event Hubs and select **Event Hubs** from the results.
3. Select your **Event Hub Namespace**.
4. Select the **Event Hub** and click it.
5. In the left menu, select **Consumer groups** (under **Entities**).
6. Click **+ Consumer group**.
7. Enter a unique name (for example, NM-service).
8. Click **Create**.
## Receive data
This operation extracts the data from an event, turns it into reusable variables, and sends the data to the specified fields in the Next Matter workflow. Before you configure this operation, you should have the workflow created as you'll need the IDs of the specific form fields where you want the event data to reside.
1. In your Next Matter portal, click **Workflows**.
2. Click **Edit workflow**.
3. Click **+Add step** and select **Integration > Azure Event Hubs**.
4. Select the **Receive event data** operation.
5. Select the event hub you want to receive the data from and the consumer group you created for Next Matter.
6. Select the data you need to use in the Next Matter workflow. In the **Event data filters**, specify the filter path and value (this is the value we'll be filtering the event for). After we've filtered the event payload, we'll turn the data into variables you can reuse later.\
To get the right path, check the data section of the payload. For example, if your schema looks like the one below and you want to extract the ID data, enter `data.inputdata.id` in the **Property path** field. Do not use `$` or `[]` list access.
```json theme={null}
{
"data":{
"inputdata":{
"id": 123,...
}
}
}
```
1. Enter **User properties filters** to extract custom properties and optionally **System properties filters** to extract event metadata, such as timestamp.
2. In your workflow, create the next step. It should be a form with short or long text fields. The fields will be populated with the filtered data and the step will automatically be marked as completed. Copy the IDs of the form fields into the **Receive event data** operation.
**Tip**: Ensure the form fields are set to **Optional**. This will prevent the integration step from failing when there isn't any value provided. It's also a good idea to create a **Long text** form field for the payload summary in case troubleshooting is needed. To fill it out, add the `$` **Variable JSON path** in the **Receive event data** operation.
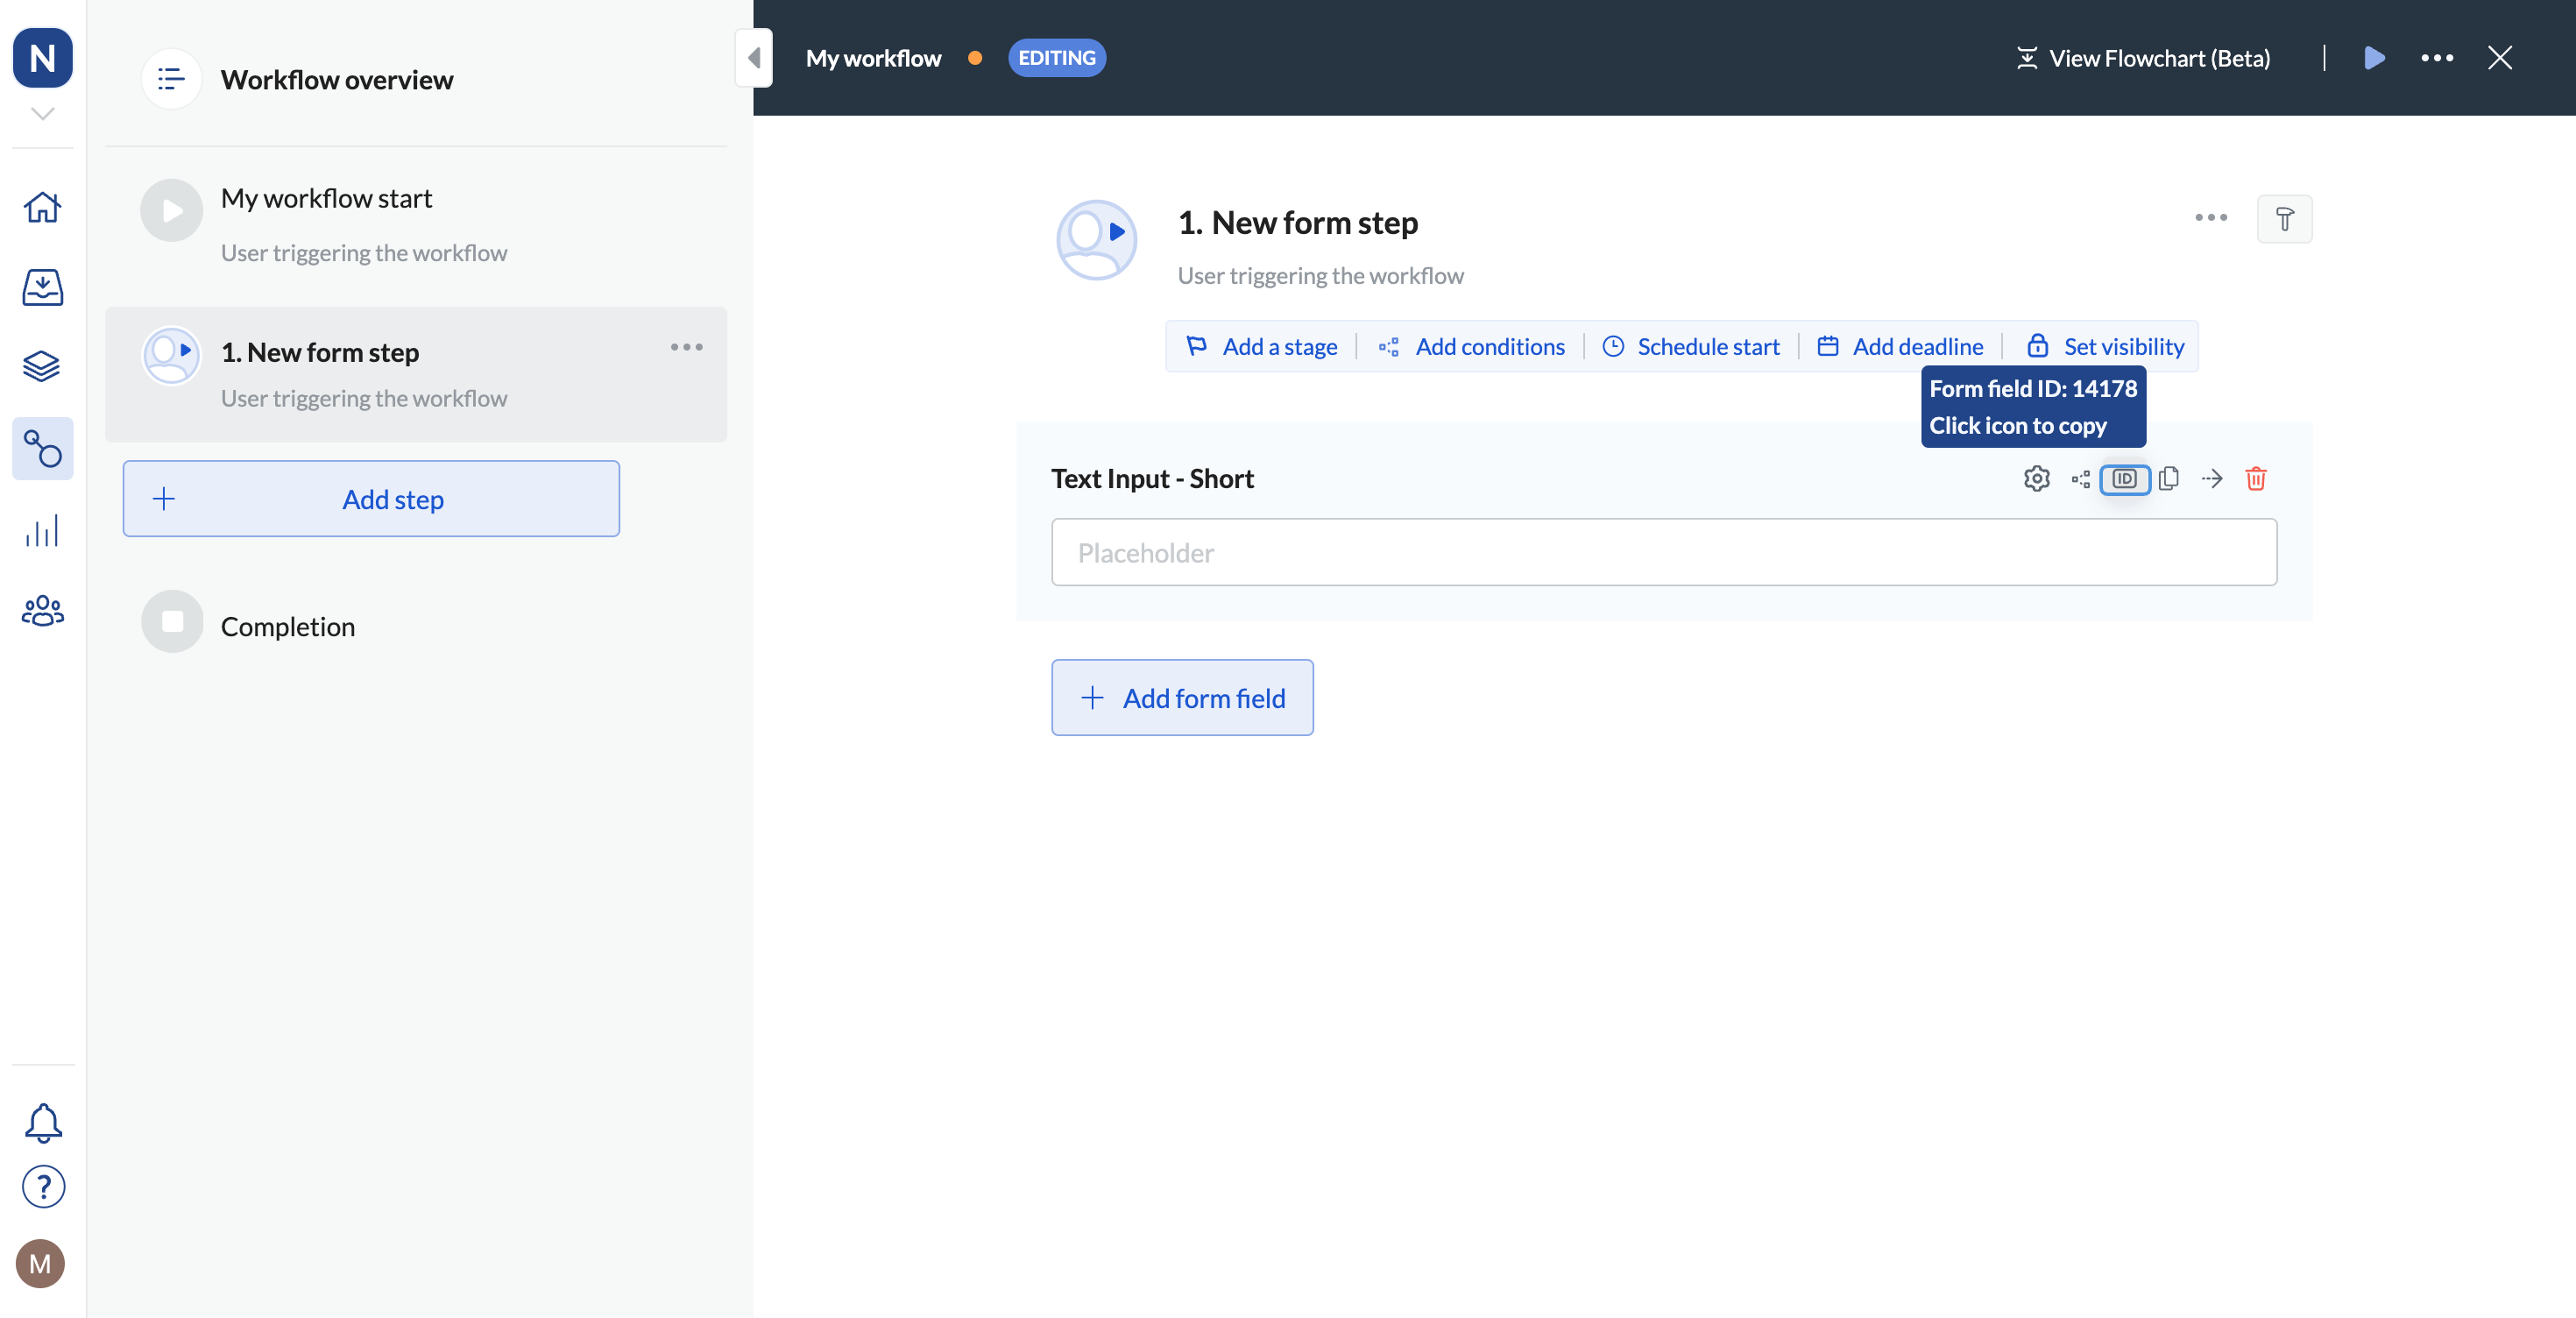
1. In your left-hand navigation, click the **Workflows** icon.
2. Hover over the follow-up process and click on the menu icon.
3. Click **Edit workflow**.
4. Click the step to which you'd like to send data.
5. Click the ID icon for the field to which you want to copy data.
6. Copy **Form field ID**.
 1. Enter the IDs of the form fields in the **Data destination** section and the variable JSON path. For example, if the data looks like the following, the `id` path will be: `$.data.inputdata.id`
```json theme={null}
{
"data":{
"inputdata":{
"id": 123,...
}
}
}
```
2. Save your changes.
Testing the integration is not available as it involves data from a future event.
When the event happens and the data is received, the workflow form will automatically be populated with data and the step will be completed.
## Send data from Next Matter to the Event Hub
1. In your Next Matter portal, click **Workflows**.
2. Click **Edit workflow**.
3. Click **+Add step** and select **Integration > Azure Event Hubs**.
4. Select the **Send event to Hub** operation.
5. Select the event hub to send the data to.
6. In the **Event data** field, enter the data you need to send. You can enter the JSON manually or use data references to replace specific data chunks. Your data to send might look like the following:
1. Enter the IDs of the form fields in the **Data destination** section and the variable JSON path. For example, if the data looks like the following, the `id` path will be: `$.data.inputdata.id`
```json theme={null}
{
"data":{
"inputdata":{
"id": 123,...
}
}
}
```
2. Save your changes.
Testing the integration is not available as it involves data from a future event.
When the event happens and the data is received, the workflow form will automatically be populated with data and the step will be completed.
## Send data from Next Matter to the Event Hub
1. In your Next Matter portal, click **Workflows**.
2. Click **Edit workflow**.
3. Click **+Add step** and select **Integration > Azure Event Hubs**.
4. Select the **Send event to Hub** operation.
5. Select the event hub to send the data to.
6. In the **Event data** field, enter the data you need to send. You can enter the JSON manually or use data references to replace specific data chunks. Your data to send might look like the following:
 7. (Optional) You can send custom workflow data as properties to the event hub. Enter the name and value of the data chunk, or select a data reference.
8. Save your operation.
All timestamps and date formats are displayed according to UTC time.
7. (Optional) You can send custom workflow data as properties to the event hub. Enter the name and value of the data chunk, or select a data reference.
8. Save your operation.
All timestamps and date formats are displayed according to UTC time.